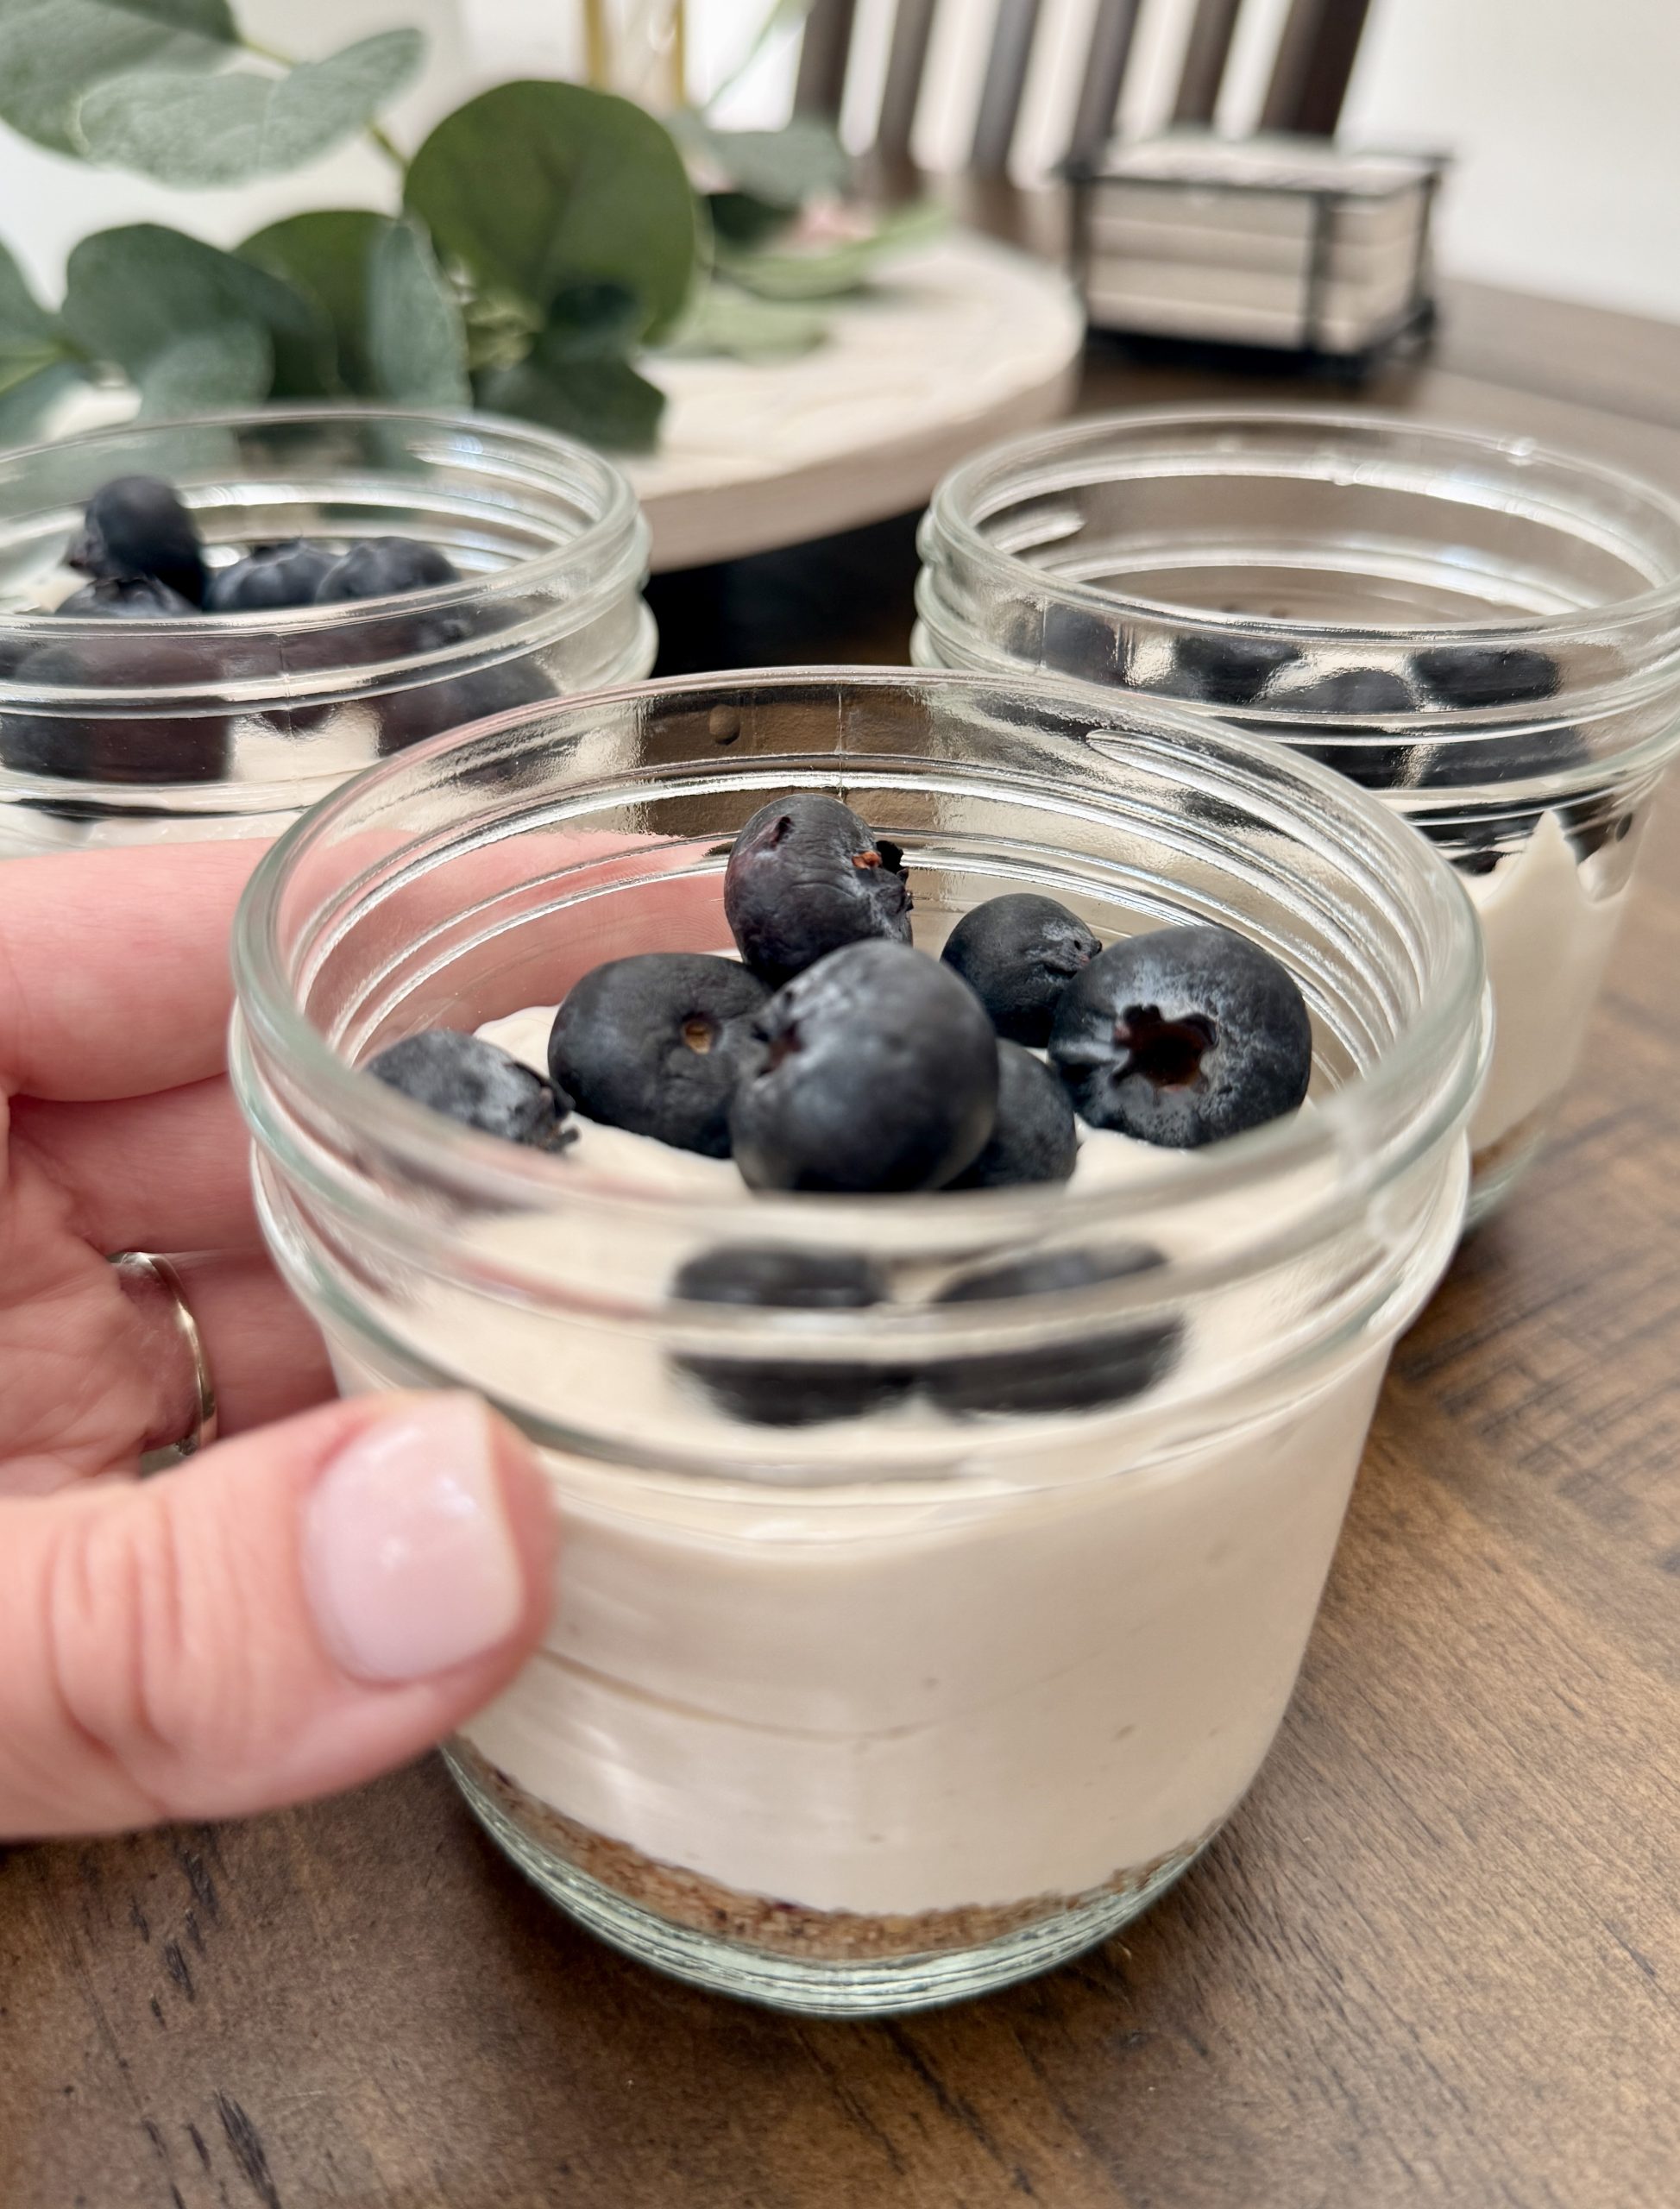
No-Bake Cottage Cheese Cheesecake Jars with Blueberries
If you’ve been seeing cottage cheese desserts everywhere and wondering whether they’re actually good, this recipe is the one that will convince you. These no-bake cottage cheese cheesecake jars are creamy, lightly sweet, and taste far more indulgent than the ingredient list suggests. Blended cottage cheese and thick Greek yogurt create a filling that’s genuinely smooth and rich, layered over crunchy granola and topped with fresh blueberries. They taste like cheesecake. They function like a high-protein meal prep breakfast or a guilt-free dessert. The fact that they’re ready in 15 minutes of active prep time is almost beside the point.
The key to getting the texture right is the blend time. A quick 10 to 15 seconds in the food processor is all it takes to turn cottage cheese into something completely smooth and creamy with no visible curds. Over-blending makes the mixture too thin, so stop as soon as it looks uniform and glossy. From there, the chill time does the rest, setting the filling into a cold, dense, cheesecake-like consistency that holds its layers beautifully in the jar.
If you love blueberries, you will also love my Healthy & High-Protein Blueberry Blended Overnight Oats recipe.
Ingredients Needed to Make Cottage Cheese Cheesecake Jars
Five core ingredients, all simple and versatile. Here’s everything you need:
The Cheesecake Filling
- Cottage cheese (the protein-packed base that blends completely smooth)
- Thick plain Greek yogurt (a thicker variety like Fage or Chobani gives the creamiest, most stable filling)
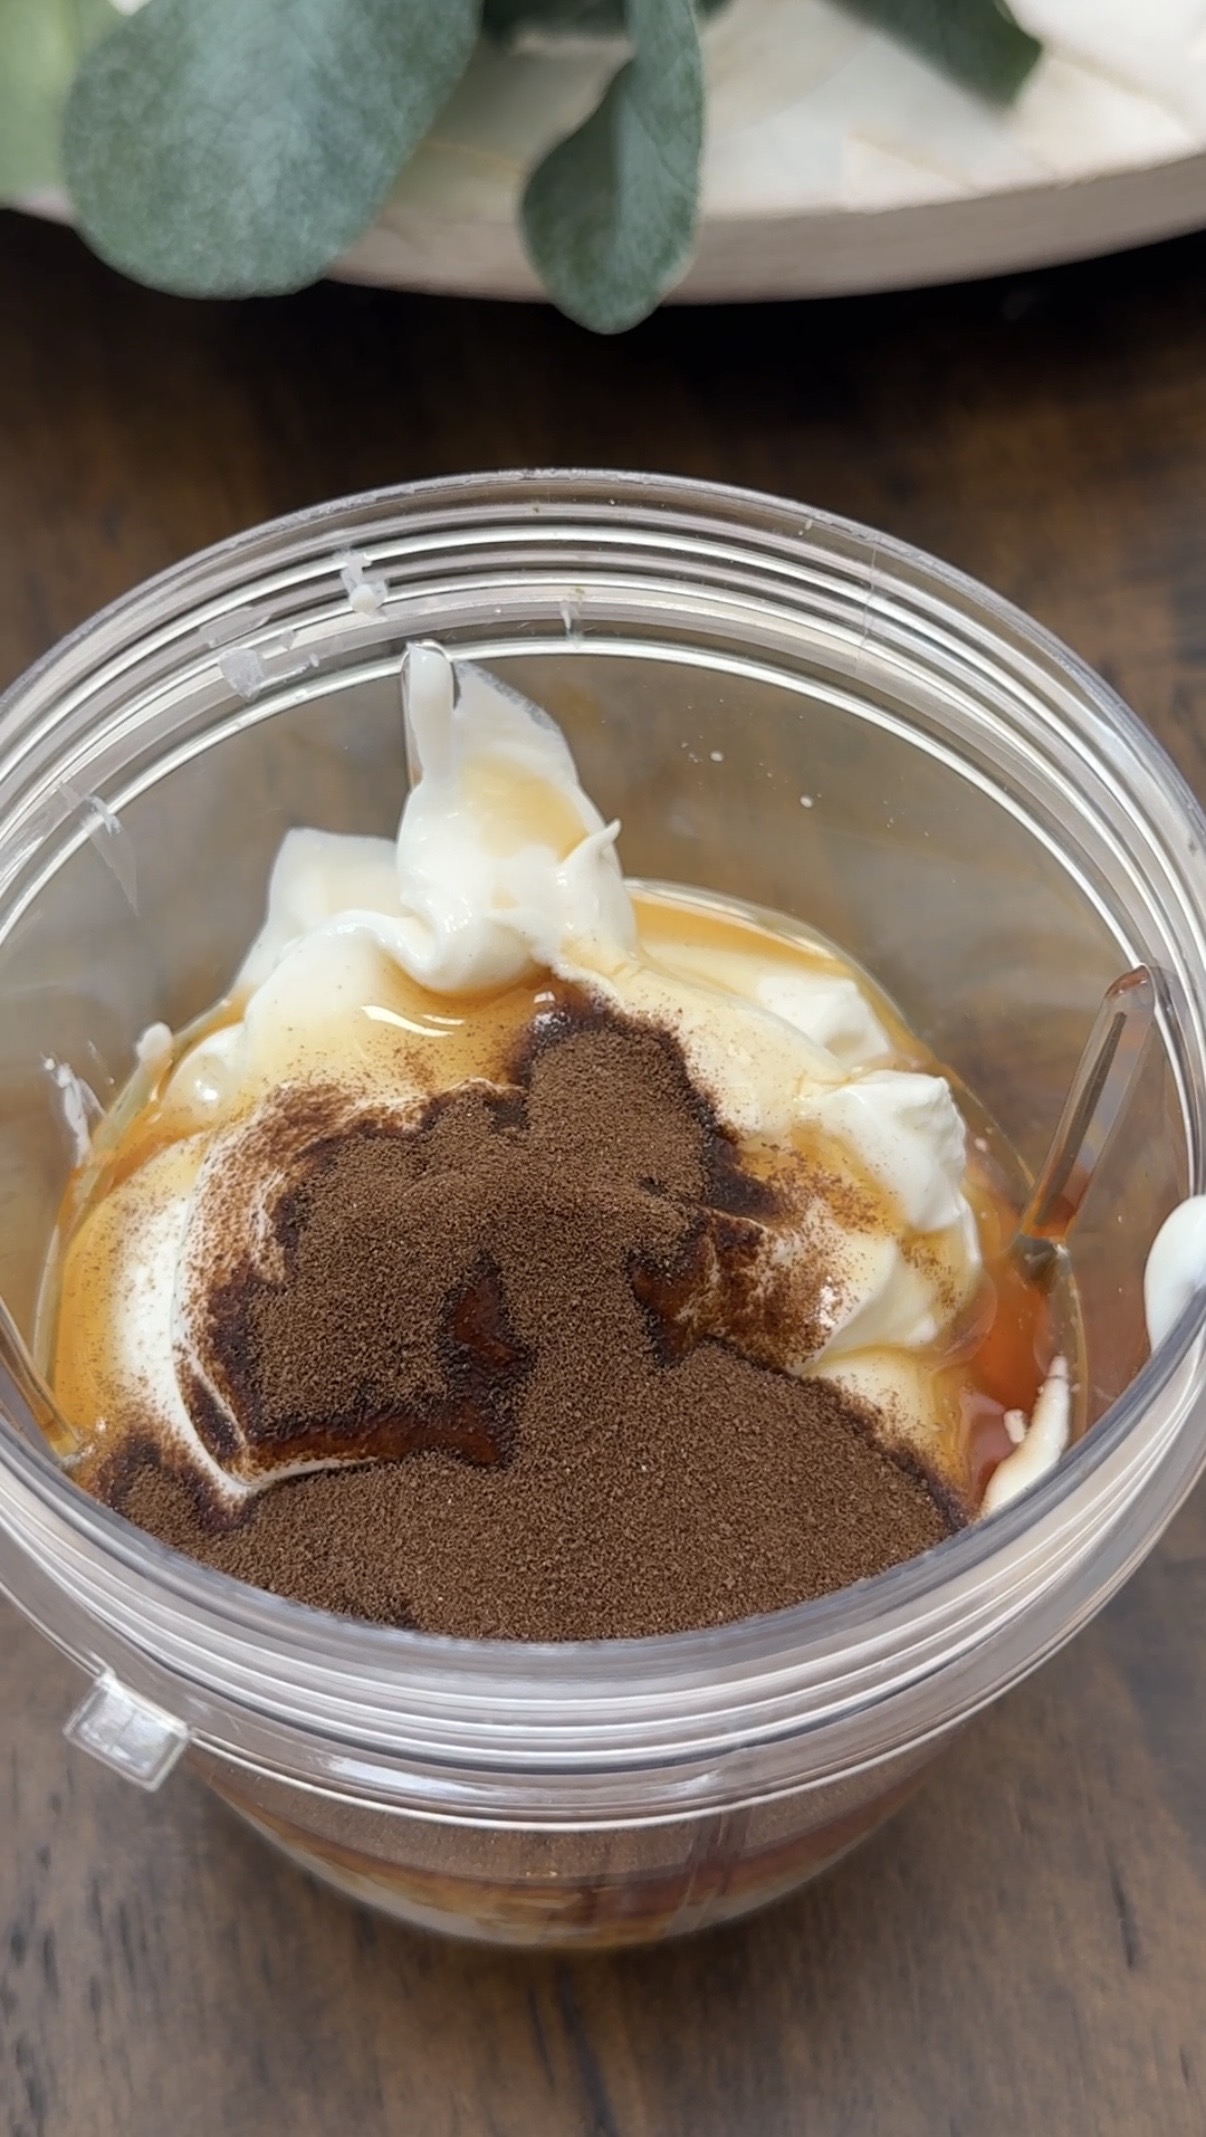
- Maple syrup (a natural sweetener that adds warmth without being overpowering)
- Vanilla bean paste or vanilla powder (richer and more complex than vanilla extract; substitute 1 teaspoon of vanilla extract if that’s what you have)
The Crust
- Granola, your favorite variety (use it as is for maximum crunch, or pulse briefly for a finer, more traditional crust texture)
The Toppings
- Fresh blueberries
- Optional: whipped cream or extra granola
How to Make No-Bake Cottage Cheese Cheesecake Jars
Quick assembly, no oven, and minimal cleanup. Here’s how it comes together.
Step 1: Blend the Cheesecake Filling
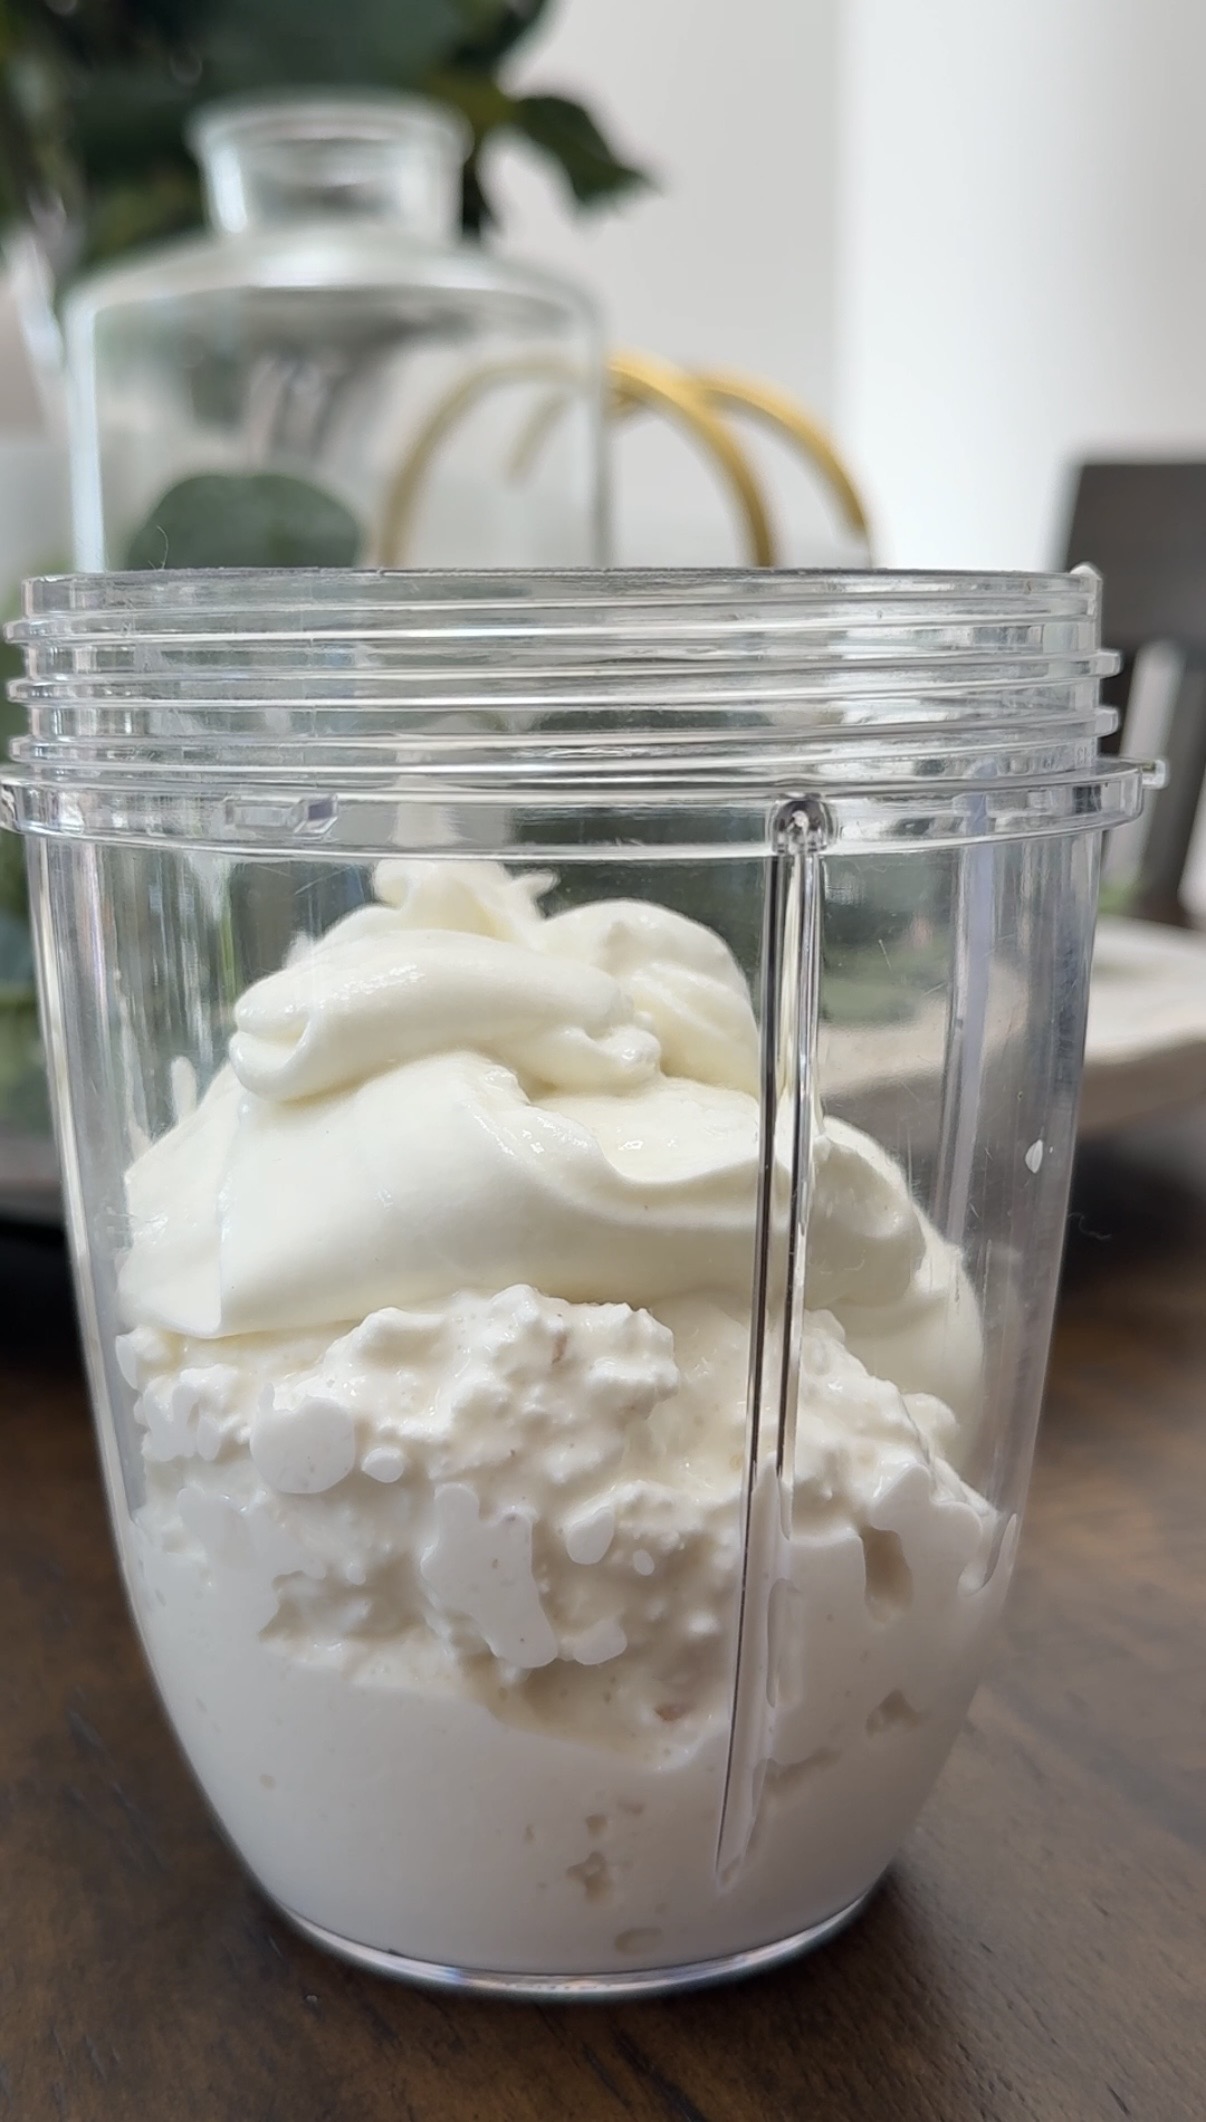
Add the cottage cheese, Greek yogurt, maple syrup, and vanilla to a food processor. Blend for just 10 to 15 seconds until the mixture becomes completely smooth and creamy with no visible curds. Don’t go longer than needed. Over-blending incorporates too much air and makes the filling too thin and loose to hold the layered jar structure. As soon as the mixture looks uniform and glossy, stop. Transfer the filling to the refrigerator while you prepare the crust.
Step 2: Prepare the Granola Crust
Decide on your texture preference. For a crunchy, chunky layer with big granola clusters, use the granola straight from the bag as is. For something closer to a traditional cheesecake graham cracker crust, add the granola to the food processor and pulse for about 1 minute until it breaks down into coarse crumbs. Both approaches work well and it really comes down to personal preference.
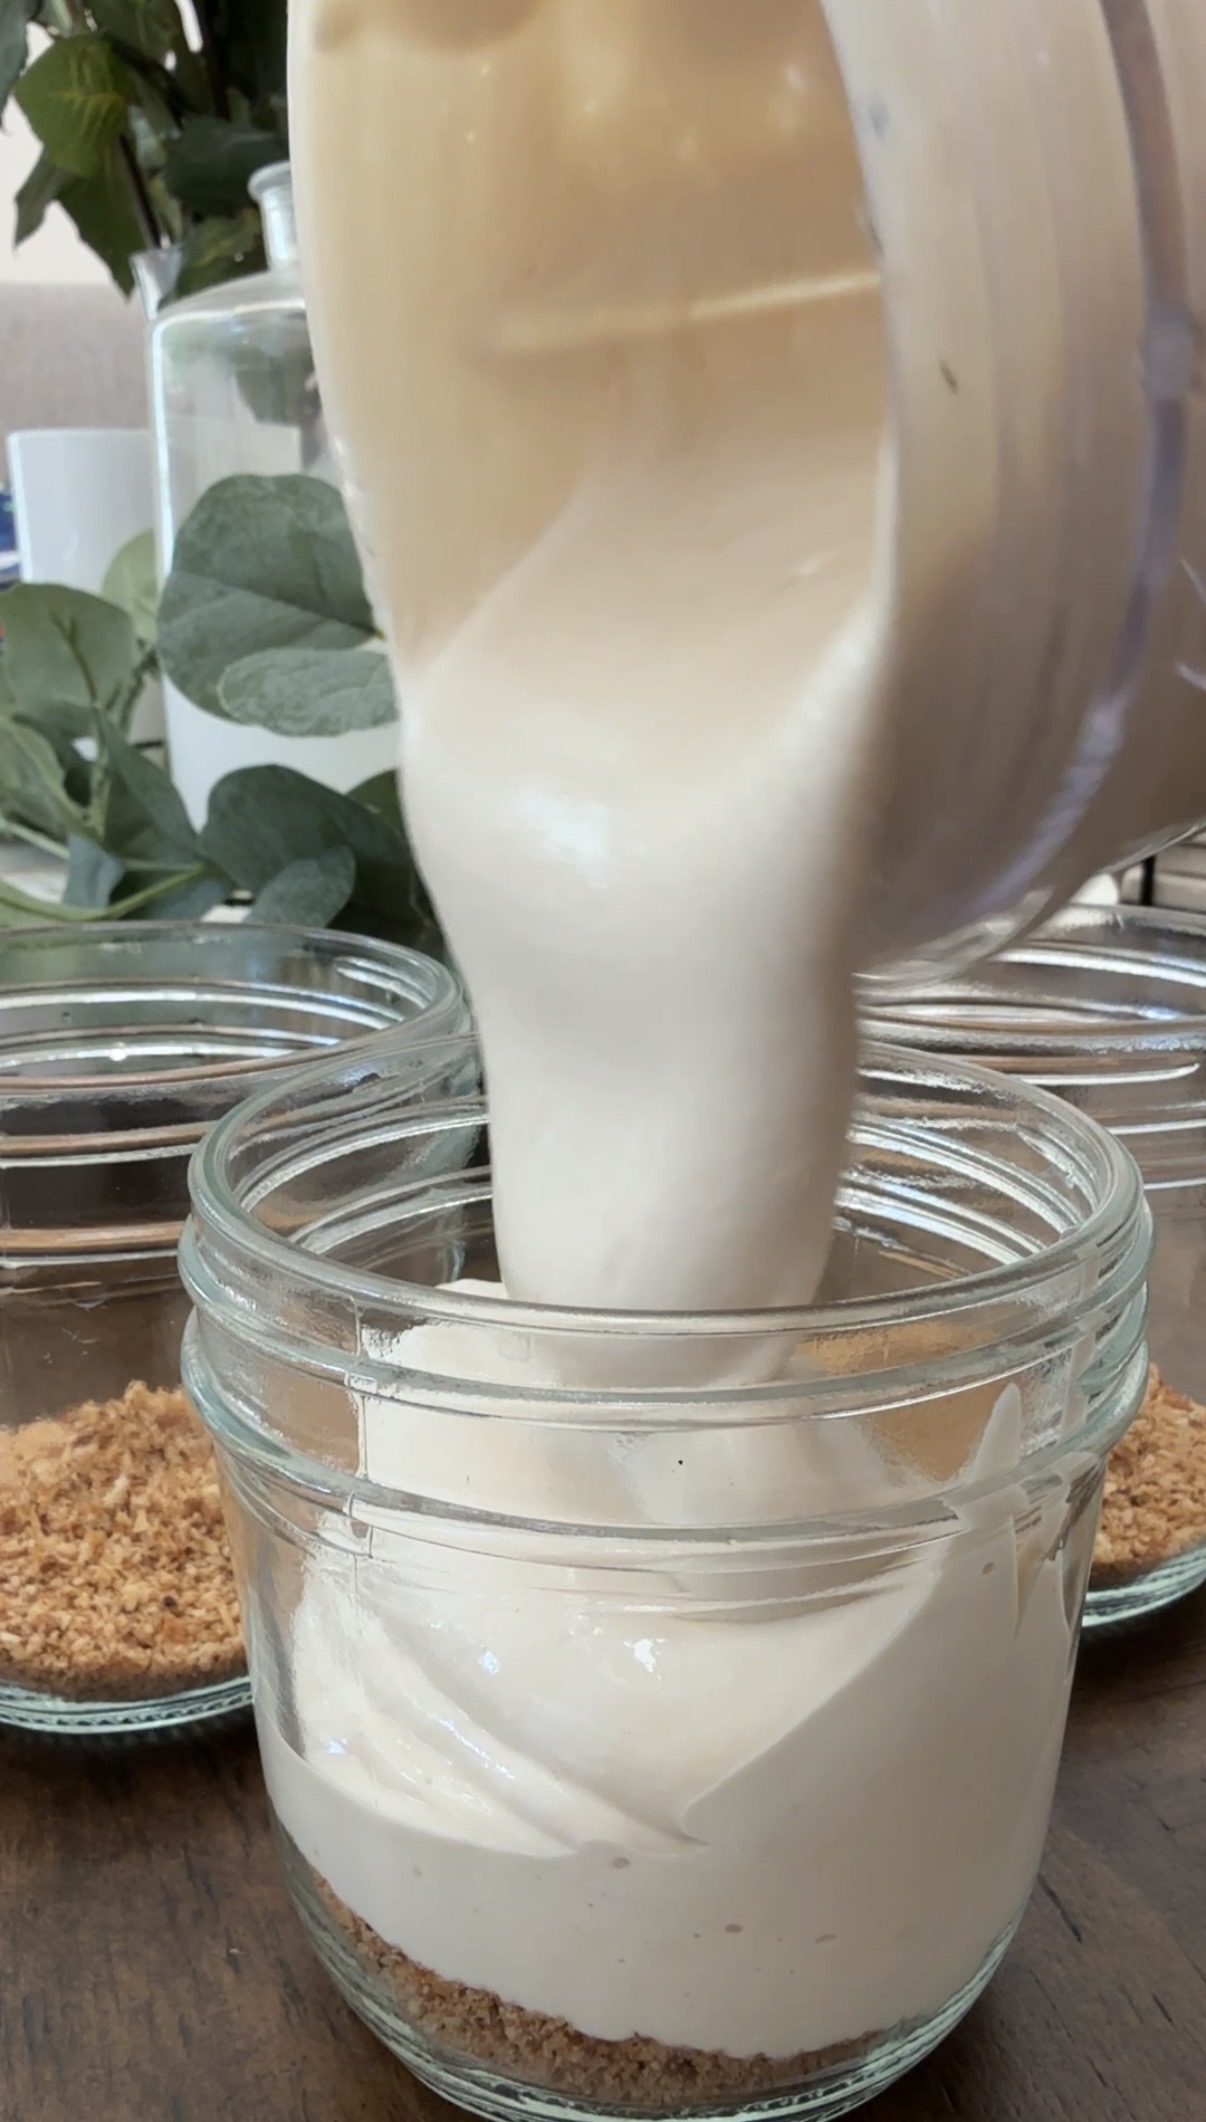
Step 3: Assemble the Jars
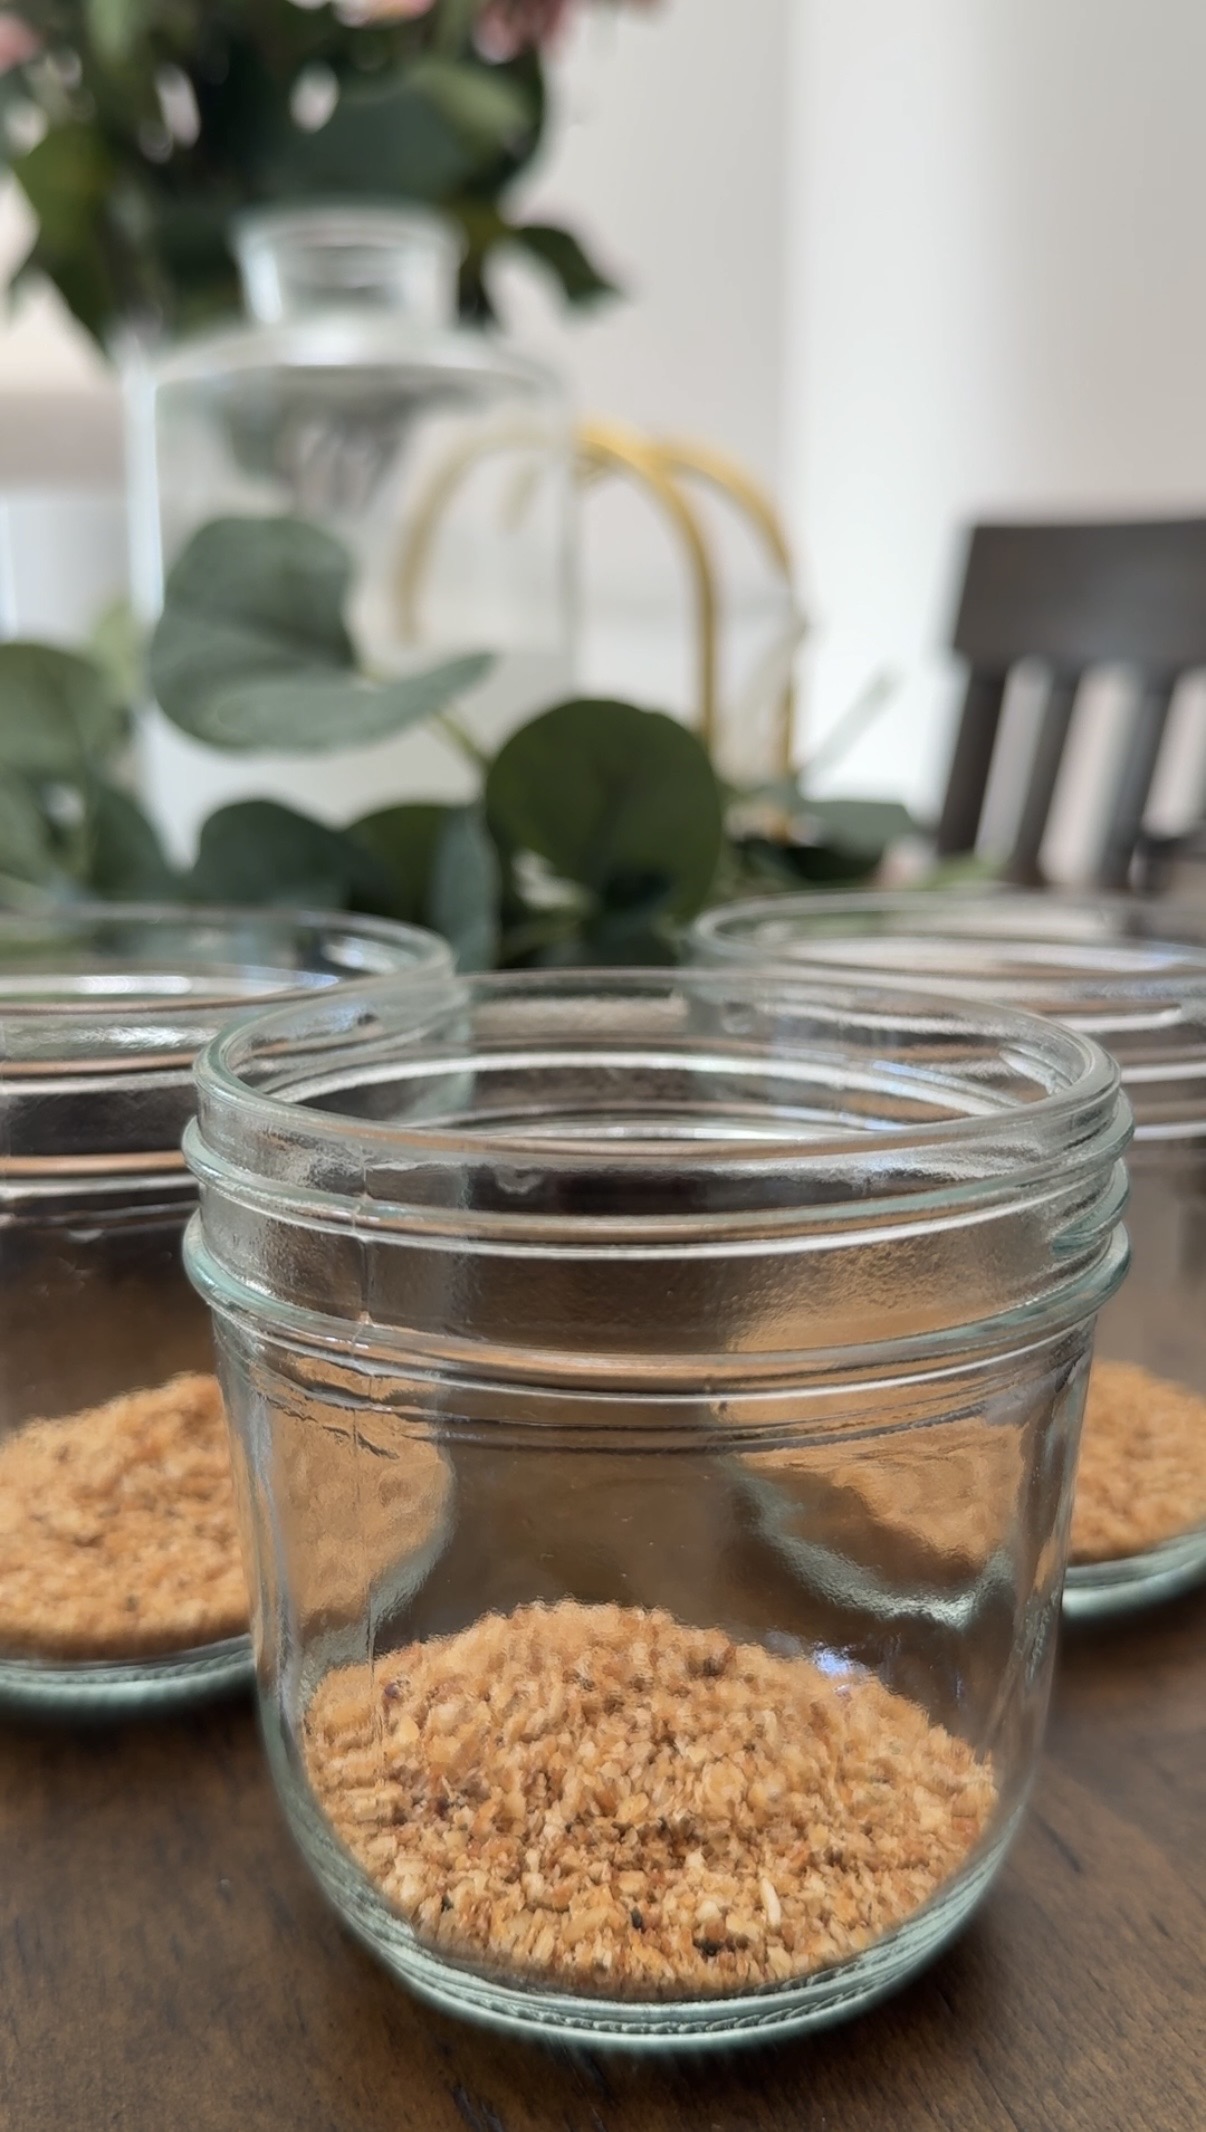
Spoon a generous layer of granola into the bottom of each jar, pressing it down lightly to form an even base. Retrieve the chilled cheesecake filling from the refrigerator and spoon a thick, generous layer over the granola in each jar. If you want defined, clean layers, use a piping bag or zip-lock bag with the corner snipped off to add the filling neatly without disturbing the granola base.
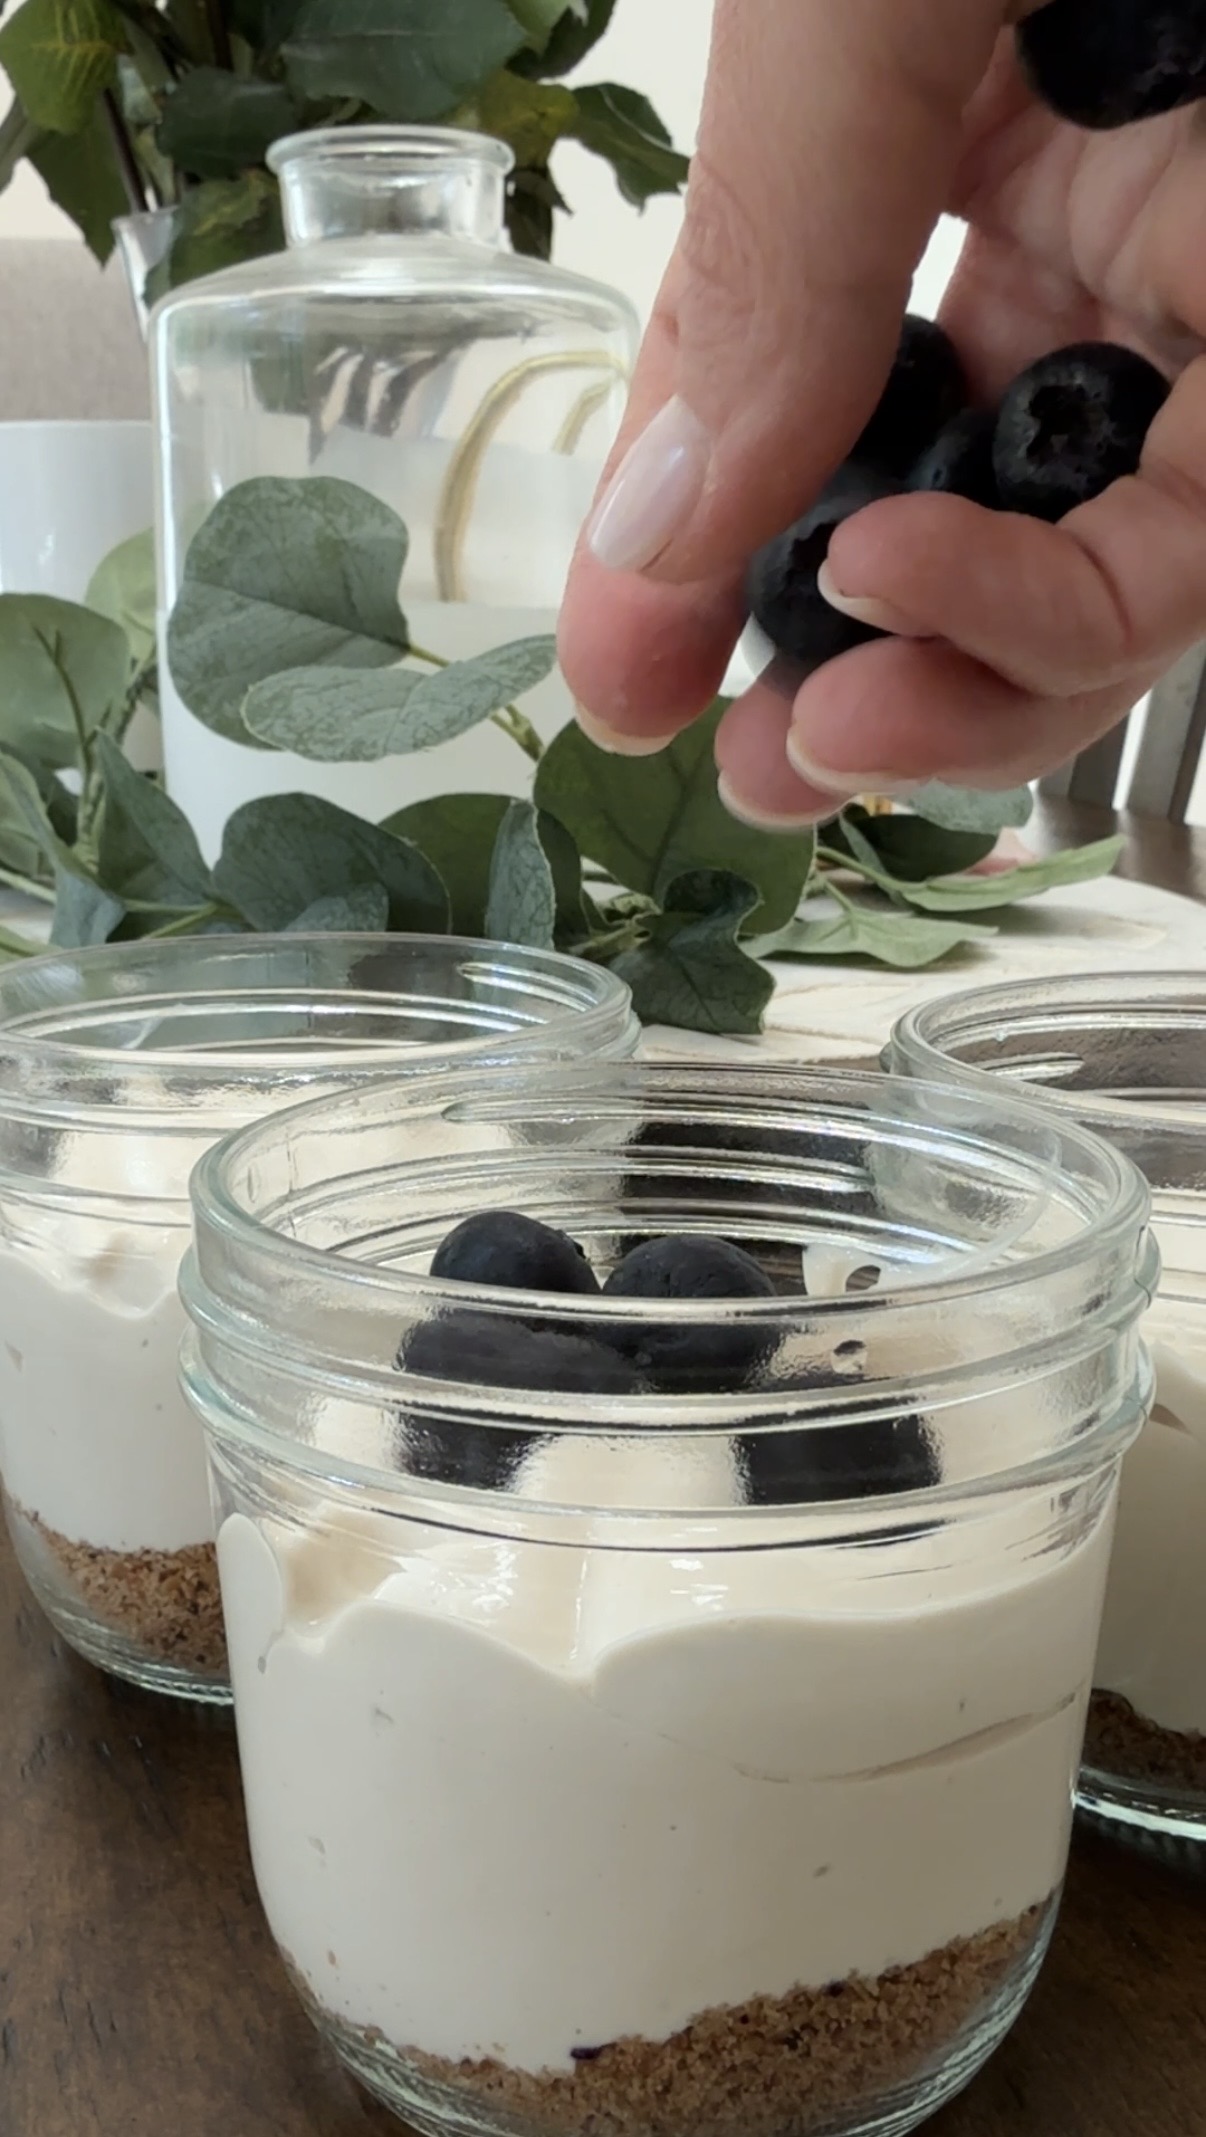
Step 4: Add the Toppings
Top each jar with a handful of fresh blueberries. Add a dollop of whipped cream or an extra sprinkle of granola if desired. The blueberries provide a bright, slightly tart contrast to the sweet, creamy filling that makes every bite feel balanced.
Step 5: Chill and Serve
Cover the jars and refrigerate for at least 1 hour before serving. This chill time is not optional in spirit, even if you can technically eat them right away. The filling firms up, the flavors meld together, and the granola softens just slightly at the edges where it meets the filling, creating a texture that’s far better than freshly assembled. After an hour, they’re ready to serve cold straight from the fridge.
Storing and Make-Ahead Tips
These jars are one of the most practical make-ahead recipes in the rotation. Assemble them fully, cover with lids or plastic wrap, and refrigerate for up to 4 days. The filling stays creamy and the flavors continue to develop over time, so jars made the night before genuinely taste better than freshly assembled ones.
One thing to keep in mind: the granola will soften the longer it sits in contact with the filling. If you love a crunchy crust, add the granola layer right before serving rather than during assembly. Alternatively, store the granola separately and layer it in at serving time. If you don’t mind a softer, more custardy crust, assemble fully ahead and refrigerate without a second thought.
For the toppings, fresh blueberries can be added during assembly and keep well in the fridge for up to 4 days without becoming mushy. Hold off on any whipped cream until serving time since it deflates quickly.
Looking to build out a full week of high-protein make-ahead breakfasts? These High-Protein Sheet Pan Breakfast Burritos are another batch-cook favorite that pairs perfectly with these jars for a well-rounded breakfast prep day.
Frequently Asked Questions About Cottage Cheese Cheesecake Jars
Yes, genuinely. Blended cottage cheese has a mild, slightly tangy flavor and a creamy texture that’s remarkably similar to cream cheese once it’s smooth. Combined with Greek yogurt, maple syrup, and vanilla, the filling tastes rich and dessert-like without any of the heaviness of a traditional cheesecake. Most people can’t identify that it’s made with cottage cheese unless they’re told.
A food processor gives the smoothest result and is the recommended tool here. A high-speed blender also works well. A regular blender can work but may leave some texture from the cottage cheese curds. A hand mixer or immersion blender will not fully smooth out the curds the way a food processor does, so the filling will be noticeably lumpier. For the best texture, a food processor or high-speed blender is worth using.
Yes, though full-fat cottage cheese produces the richest, creamiest result. Low-fat versions work but the filling will be slightly less thick and less rich in flavor. Non-fat cottage cheese tends to produce the thinnest filling. If you’re using a lower-fat variety and the filling seems too loose after blending, add an extra tablespoon or two of thick Greek yogurt and refrigerate the filling for 30 minutes before assembling to help it firm up.
Any granola you enjoy eating works well here. A vanilla or honey granola pairs naturally with the cheesecake filling. A nutty or maple-flavored granola adds extra depth. Avoid granolas with large, very hard clusters if you’re going for a finer crust texture since they take longer to break down in the food processor. For the crunchiest base, look for a granola that stays crispy rather than one that’s on the chewier side.
No-Bake Cottage Cheese Cheesecake Jars with Blueberries
Method
- Add the cottage cheese, Greek yogurt, maple syrup, and vanilla to a food processor. Blend for about 10–15 seconds, just until the mixture becomes smooth and creamy. Transfer the filling to the refrigerator while preparing the crust.
- You can use the granola as is for a crunchy texture. For a more traditional cheesecake-style crust, pulse the granola in a food processor for about 1 minute until it resembles coarse crumbs.
- Spoon a layer of granola into the bottom of each jar. Add a generous layer of cheesecake filling on top.
- Top with fresh blueberries and any optional toppings like whipped cream or extra granola.
- Cover the jars and refrigerate for at least 1 hour before serving. This allows the filling to set and the flavors to meld together.
Notes
- Don’t over-blend: Blend the filling just until smooth. Over-blending can make it too thin.
- Use thick-style Greek yogurt, like FAGE brand: A thicker yogurt creates the creamiest cheesecake texture.
- Let it chill: The jars taste best after at least an hour in the fridge when the filling becomes cold and creamy.
- This recipe made three 8-oz jars for me.
Nutrition information is automatically calculated, so should only be used as an approximation.
Love this! I didn’t even make the crust… Just ate the cheesecake filling with a spoon like pudding! delicious 😋
That’s amazing! Love it. Thank you so much!