
Easy and Healthier Apple Crisp with Oat and Pecan Topping
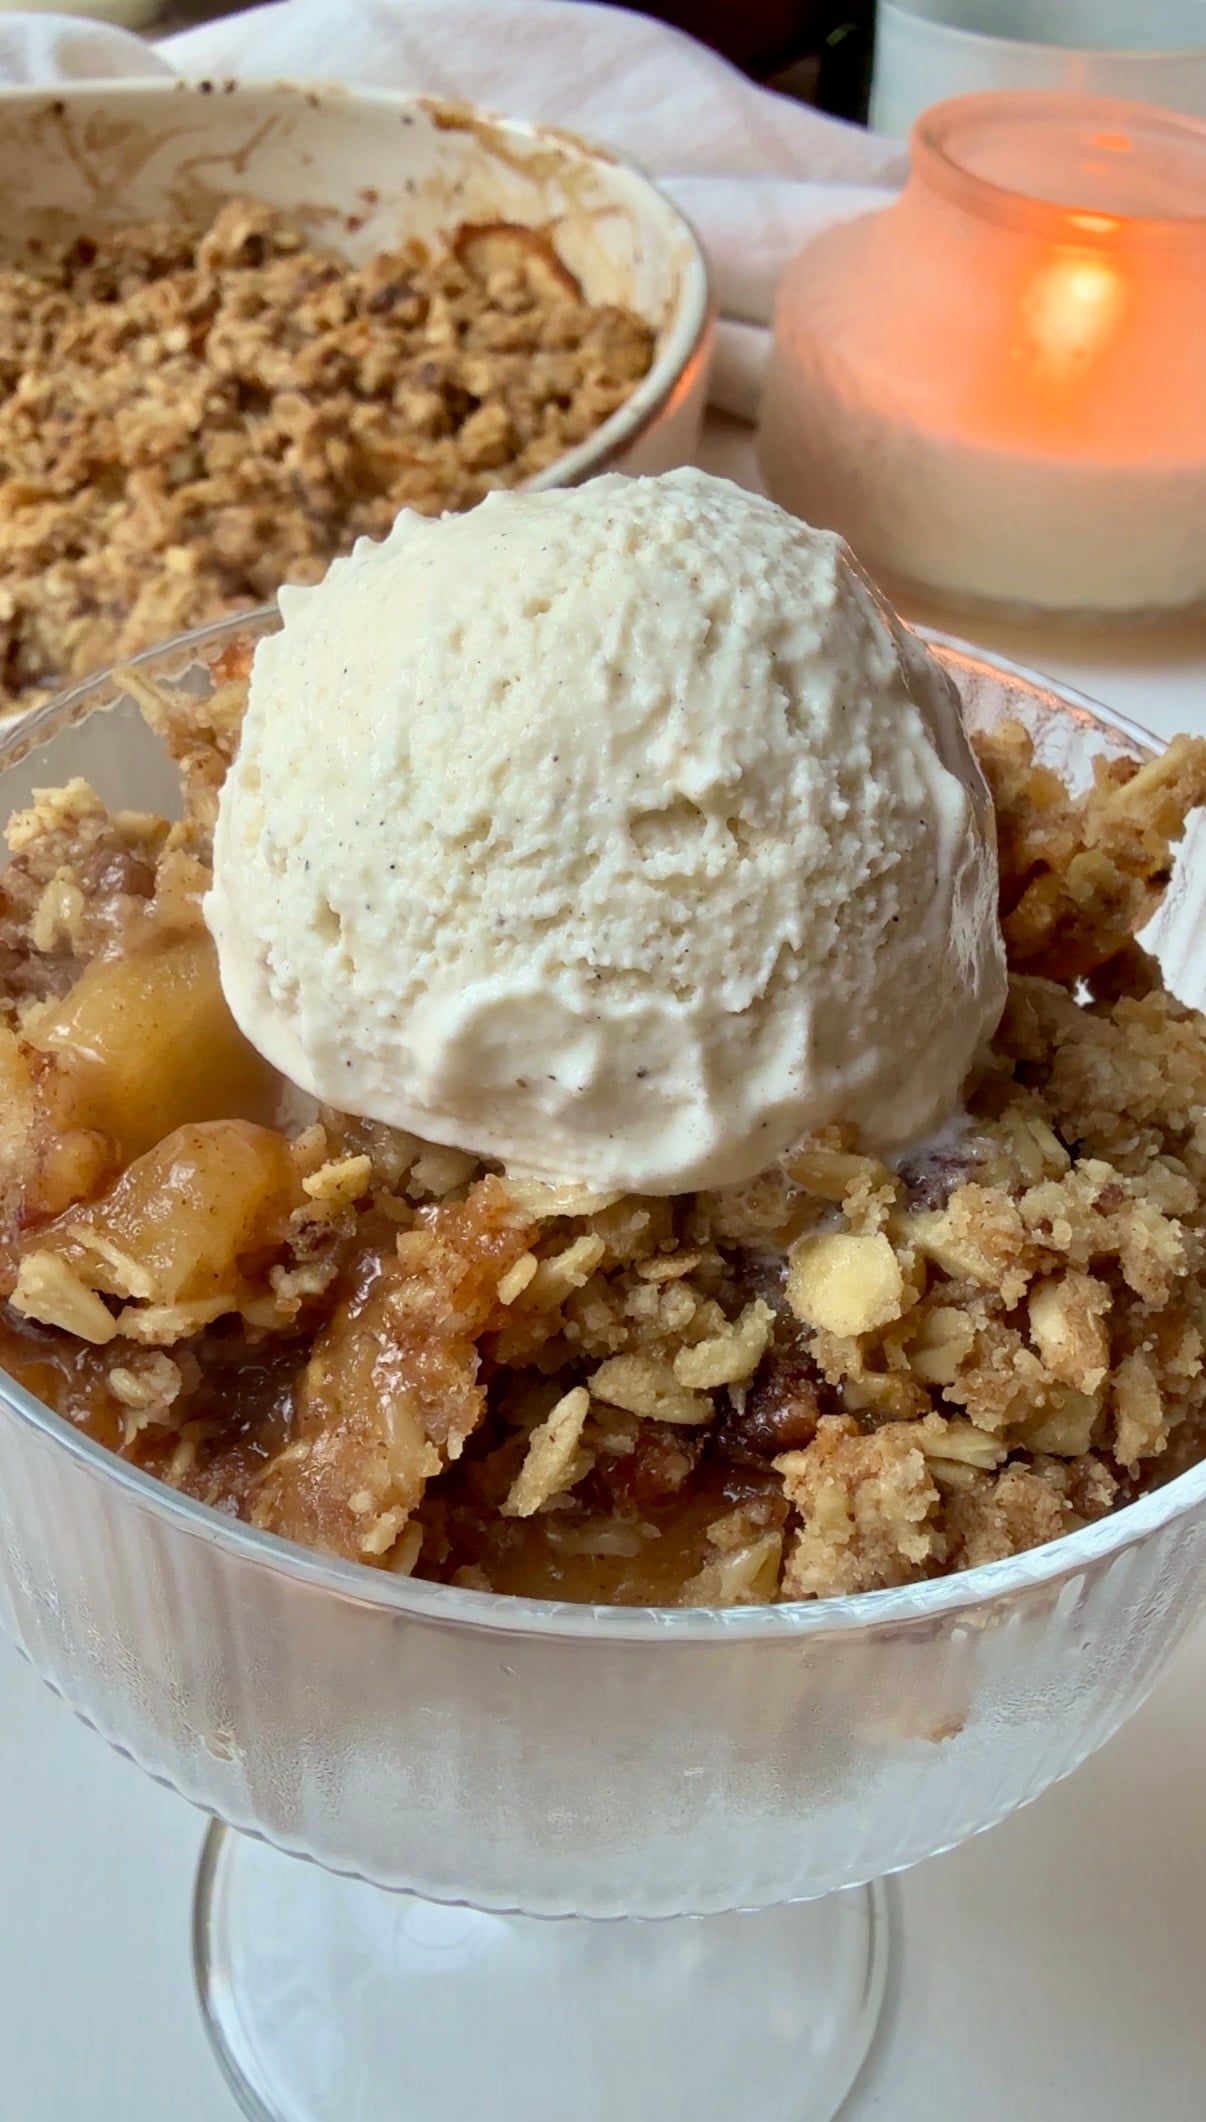
This easy and healthier apple crisp is everything you want in a cozy fall dessert! Fresh apples are tossed with cinnamon, nutmeg, brown sugar, and a little lemon juice, then topped with a buttery oat and pecan crumble. As it bakes, the apples become tender and bubbly while the topping turns golden brown and crisp.
Made with simple pantry ingredients and fresh apples, this homemade apple crisp is easy to prepare and perfect for fall gatherings, Thanksgiving, or a simple weeknight dessert. Serve it warm with a scoop of vanilla ice cream for the ultimate cozy treat!
Why You’ll Love This Recipe
Simple ingredients: You don’t need anything fancy to make this homemade apple crisp. Fresh apples, oats, pecans, butter, and a few pantry staples come together to create a delicious dessert.
Easy to prepare: The apple filling and crumble topping each come together in one bowl. Layer everything in a skillet or baking dish, pop it in the oven, and let it bake until golden and bubbly.
The perfect texture: The apples bake until tender while the oat and pecan topping gets buttery, crisp, and slightly crunchy. I love the combination of soft cinnamon apples and the nutty crumble in every bite.

– Lyuda
Ingredients for Easy and Healthier Apple Crisp
You only need a handful of simple ingredients to make this apple crisp with oats and pecans. Here’s what you’ll need and why each ingredient matters.
For the Apple Filling
- Apples: I love using Honeycrisp apples because they’re naturally sweet, crisp, and hold their shape well when baked. Fuji, Gala, and Pink Lady apples are also great options.
- Lemon juice: A little fresh lemon juice brightens the apple filling and balances the sweetness of the brown sugar. It also helps keep the apples from browning while you’re preparing the recipe.
- Vanilla extract: Adds warmth and enhances the flavor of the apples and spices.
- Ground cinnamon: Gives the filling its classic cozy apple crisp flavor.
- Ground nutmeg: A little nutmeg adds warmth and pairs beautifully with the cinnamon.
- Arrowroot starch or cornstarch: Helps thicken the juices released by the apples as they bake, creating a soft, syrupy filling instead of a watery one.
- Brown sugar: Sweetens the apples and adds a subtle caramel-like flavor.
For the Oat and Pecan Topping
- Butter: Melted butter brings the topping together and gives it a rich, buttery flavor as it bakes.
- Old-fashioned rolled oats: Add texture and a hearty, slightly chewy crunch to the topping. I recommend old-fashioned oats rather than quick oats.
- All-purpose flour or oat flour: Helps bind the crumble topping. Both options work, although they may produce slightly different textures.
- Chopped pecans: Add a delicious nutty flavor and extra crunch that pairs perfectly with the apples and cinnamon.
- Brown sugar: Sweetens the topping and helps it become golden and crisp.
- Ground cinnamon: Adds another layer of warm cinnamon flavor.
- Fine sea salt: Balances the sweetness and brings out the flavor of the butter and pecans.
See the recipe card below for the exact ingredient amounts and instructions.
How to Make Apple Crisp with Oats and Pecans
This easy apple crisp comes together in just a few simple steps. You can use a 12-inch cast-iron skillet or a 9×13-inch baking dish.
Step 1: Prepare the Apples
Preheat your oven to 350°F. Lightly grease a 12-inch oven-safe skillet or a 9×13-inch baking dish.
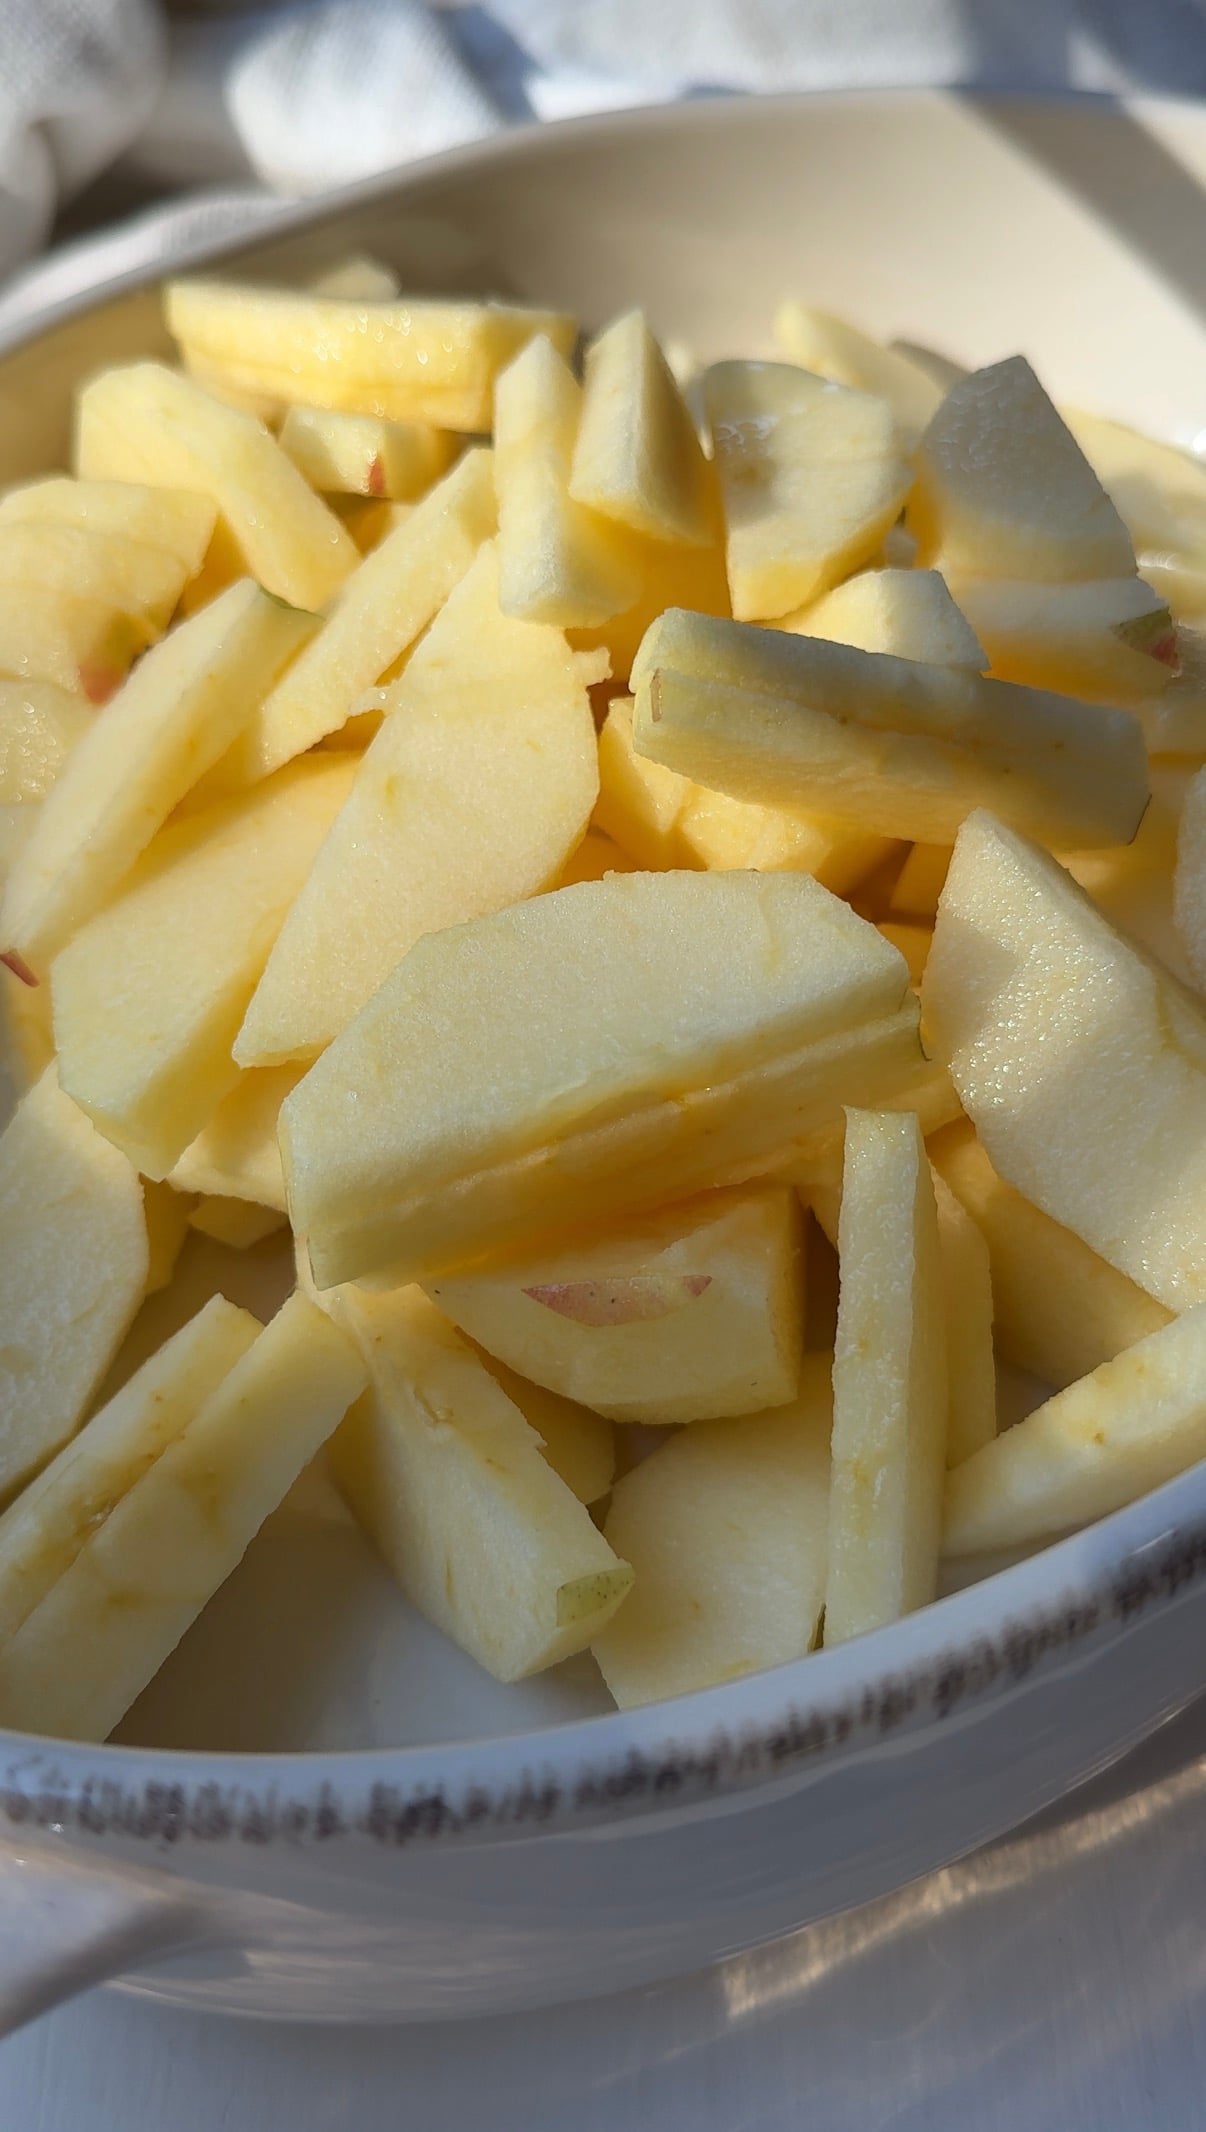
Peel, core, and slice the apples into even ¼- to ⅓-inch slices. Try to keep the slices close to the same thickness so they bake evenly.
Place the sliced apples in a large mixing bowl.
Step 2: Make the Apple Filling
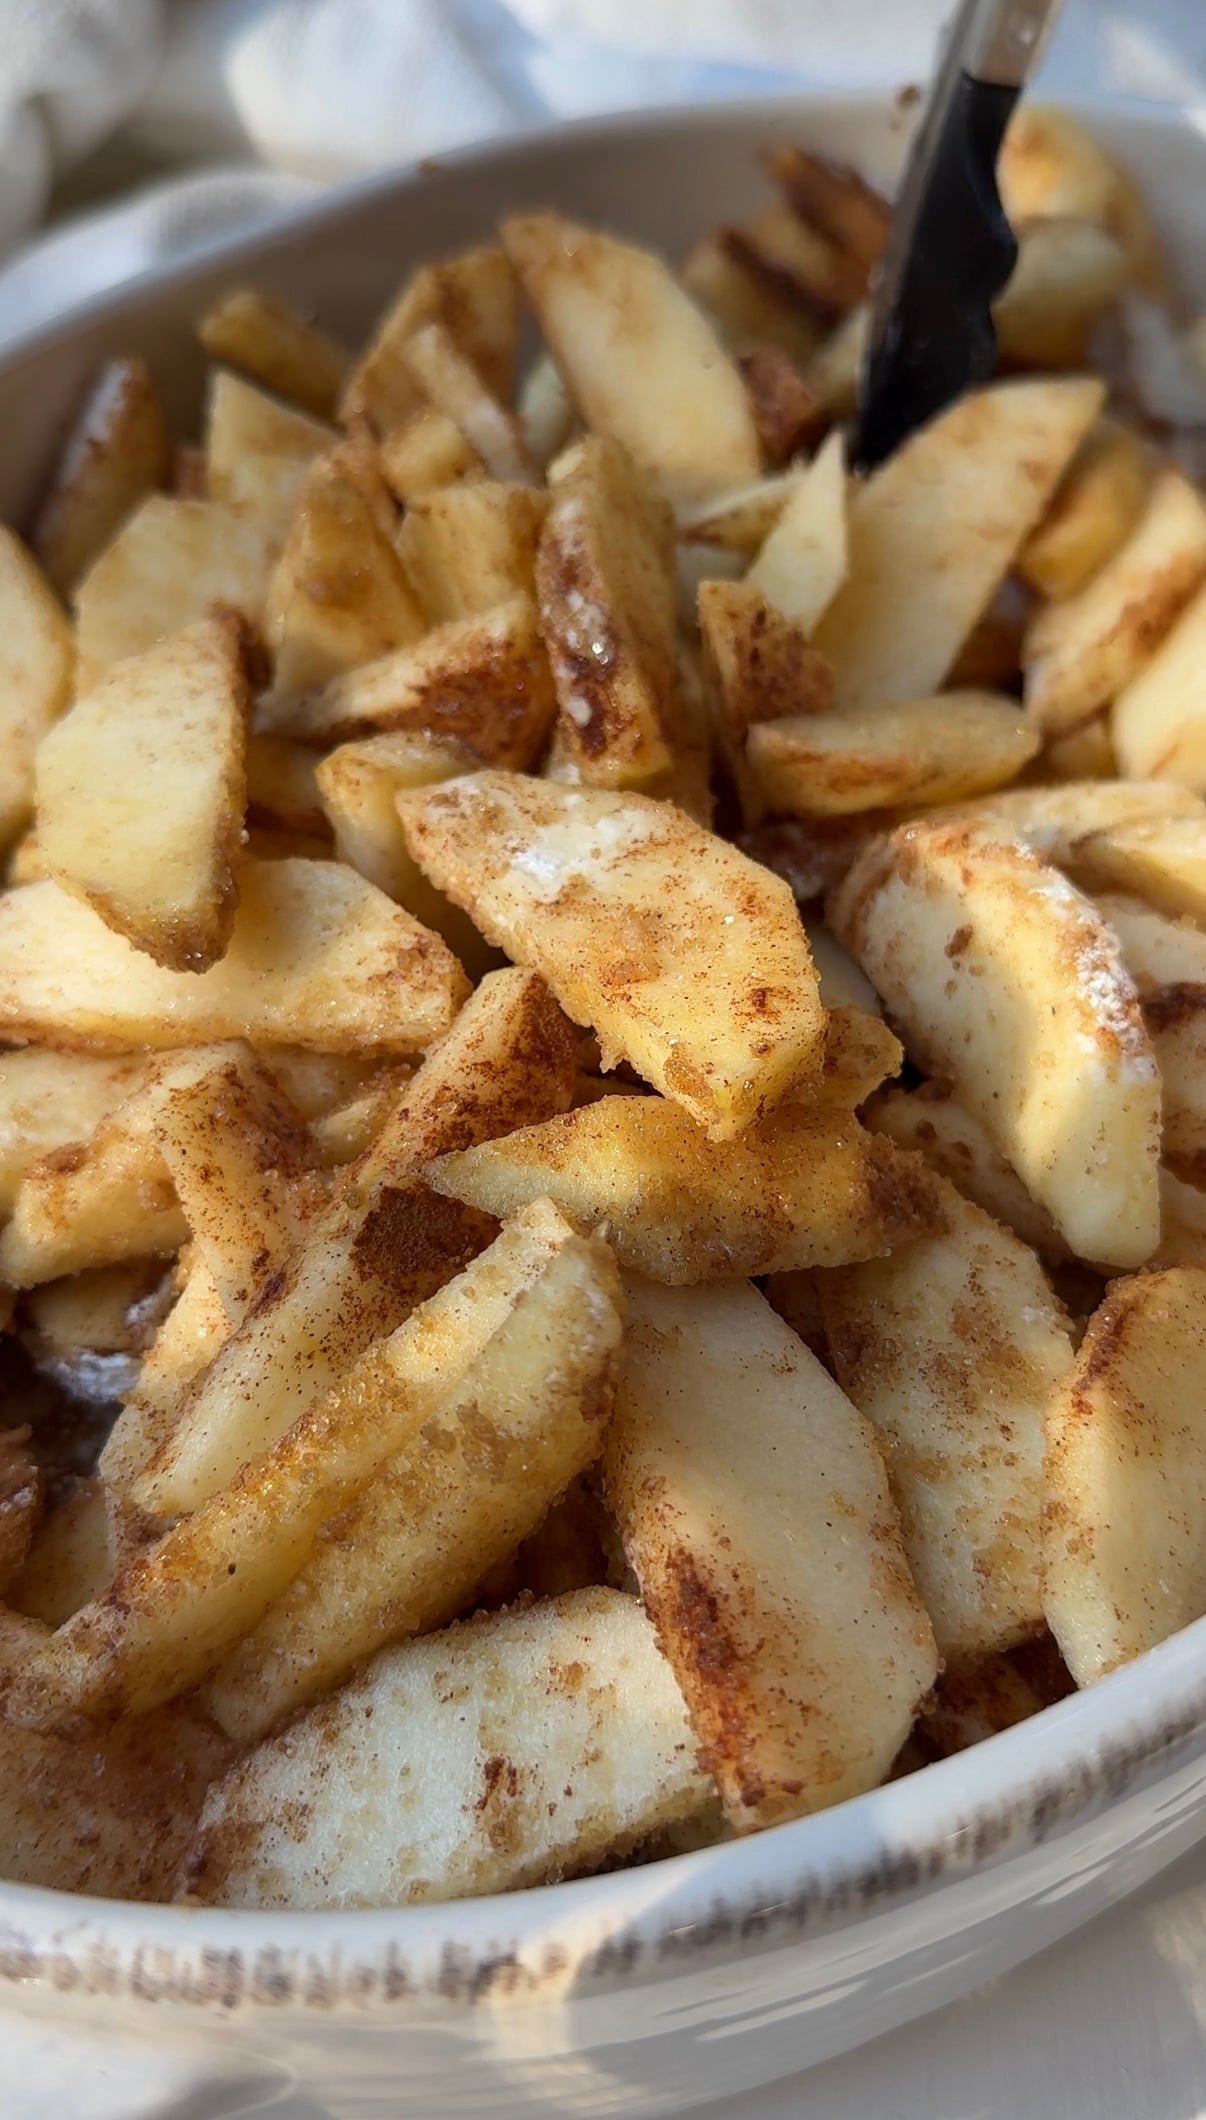
Add the lemon juice, vanilla extract, cinnamon, nutmeg, arrowroot starch or cornstarch, and brown sugar to the apples.
Toss everything together until the apple slices are evenly coated. The starch should be distributed throughout the filling so it can thicken the apple juices as they bake.
Spread the apple mixture evenly into your prepared skillet or baking dish.
Step 3: Prepare the Oat and Pecan Topping
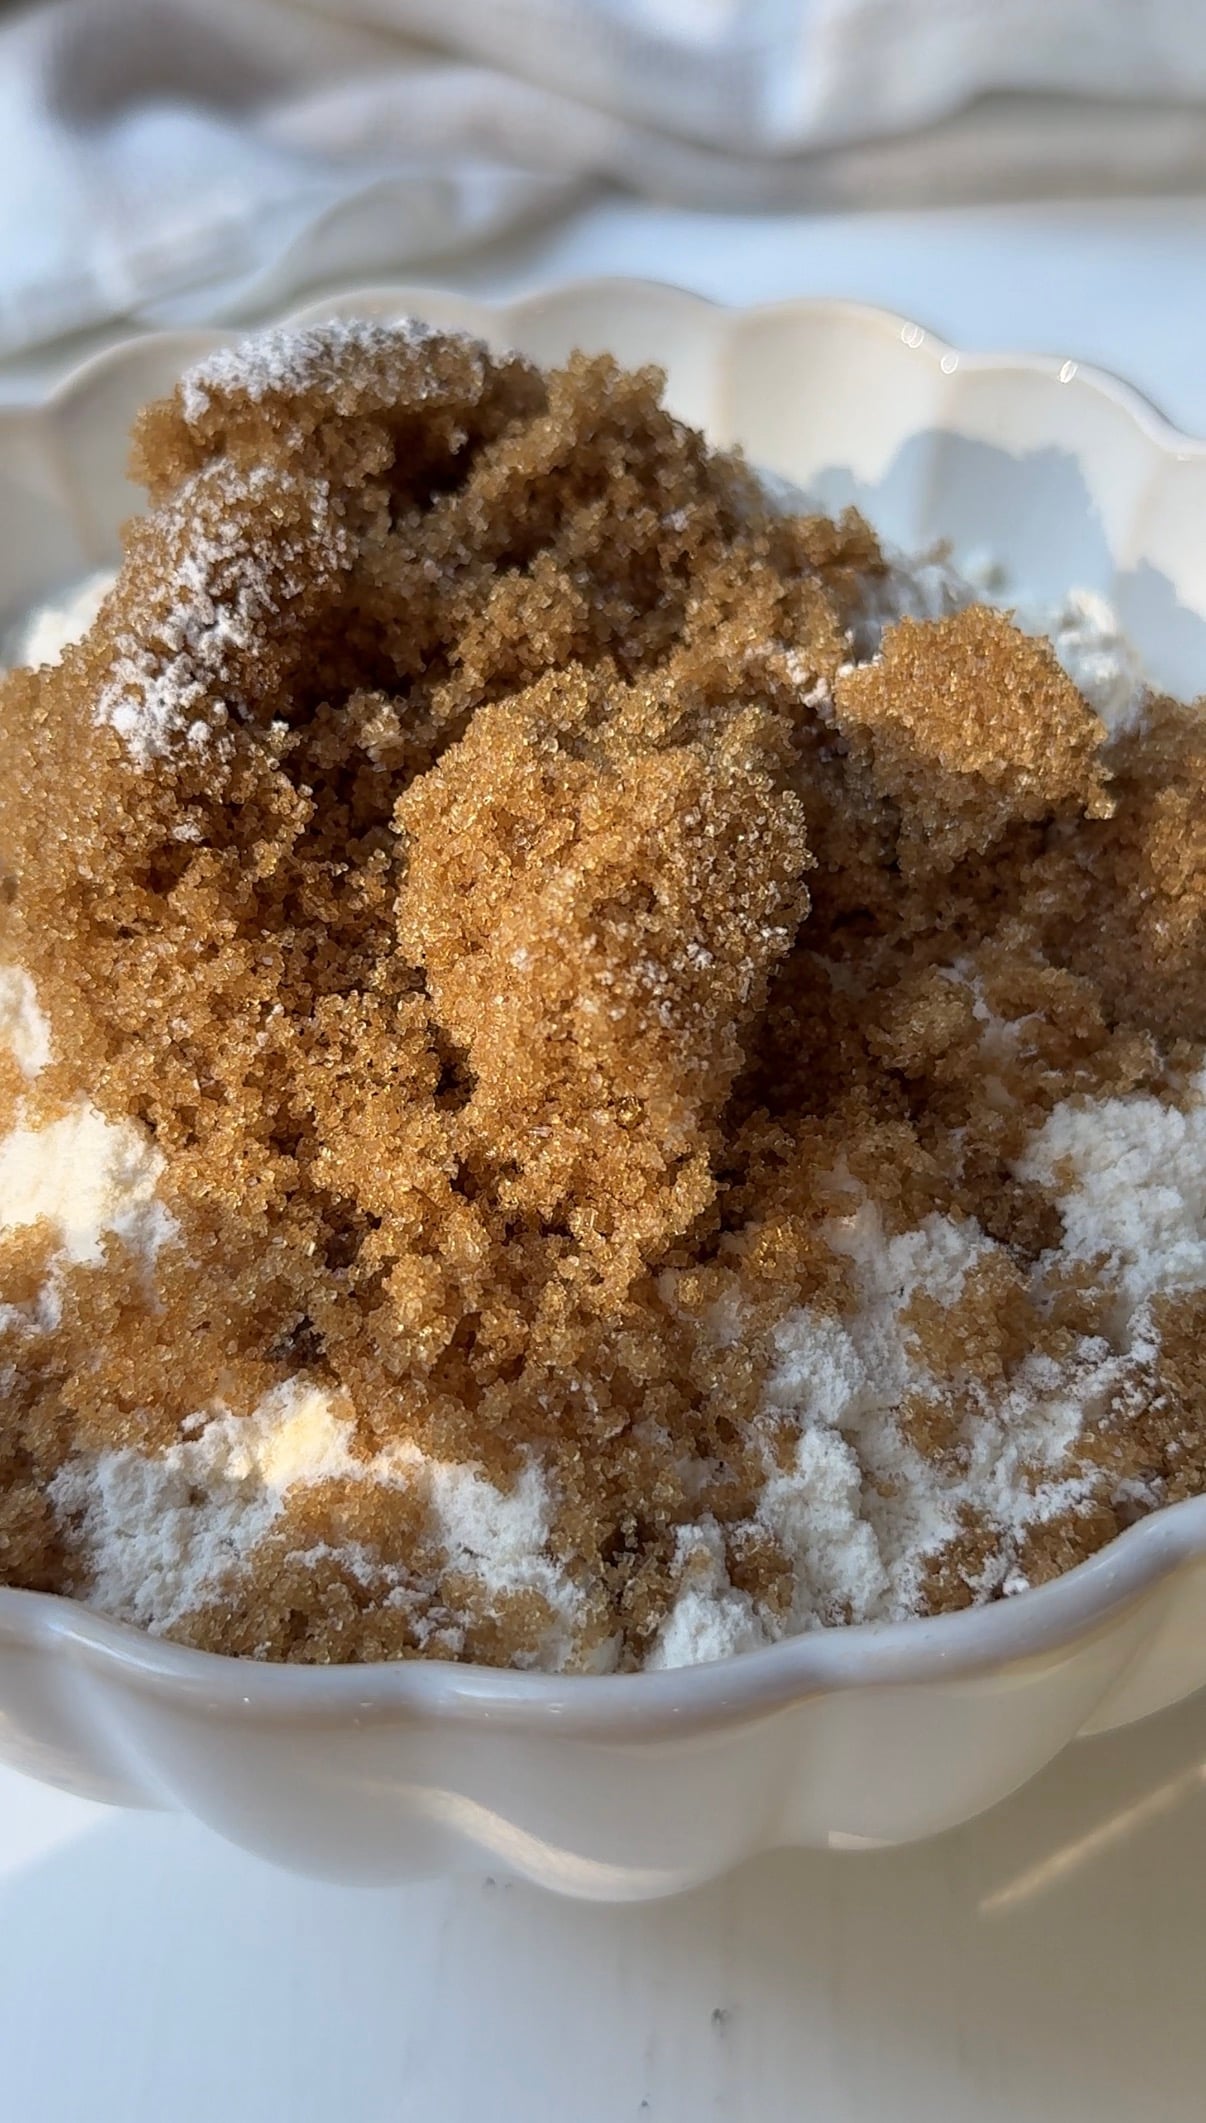
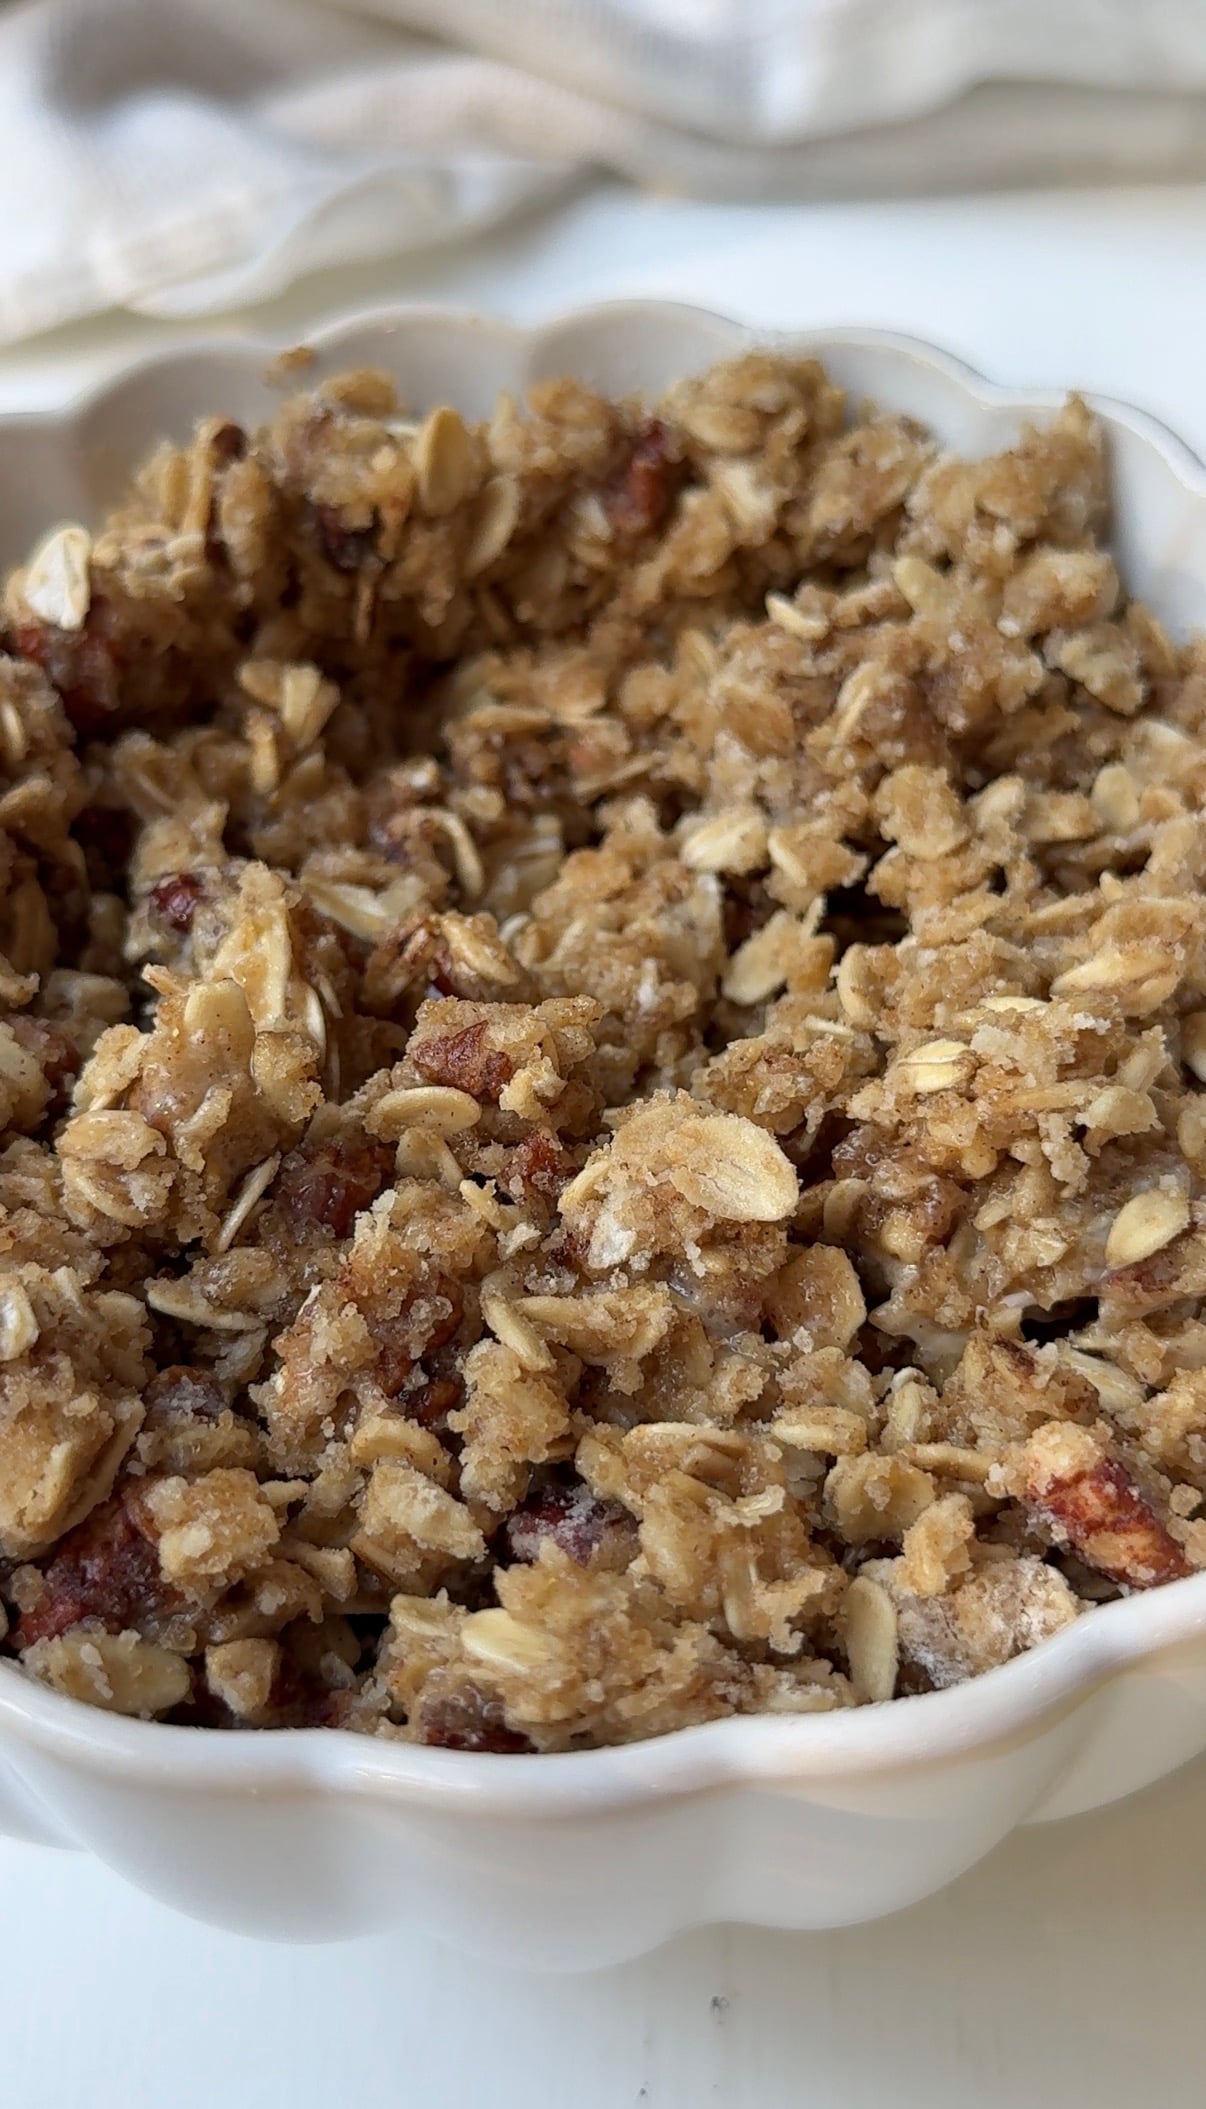
In a separate medium-sized bowl, combine the melted butter, rolled oats, flour, chopped pecans, brown sugar, cinnamon, and sea salt.
Stir until all the dry ingredients are moistened and the mixture forms a crumbly topping. You should have a mixture that clumps together slightly when pressed but still has plenty of loose crumbs.
Step 4: Add the Topping
Sprinkle the oat and pecan mixture evenly over the apples.
Spread it out gently so the apples are covered. Avoid pressing the topping down too firmly, as leaving it loose helps create a crisp, crumbly texture.
Step 5: Bake
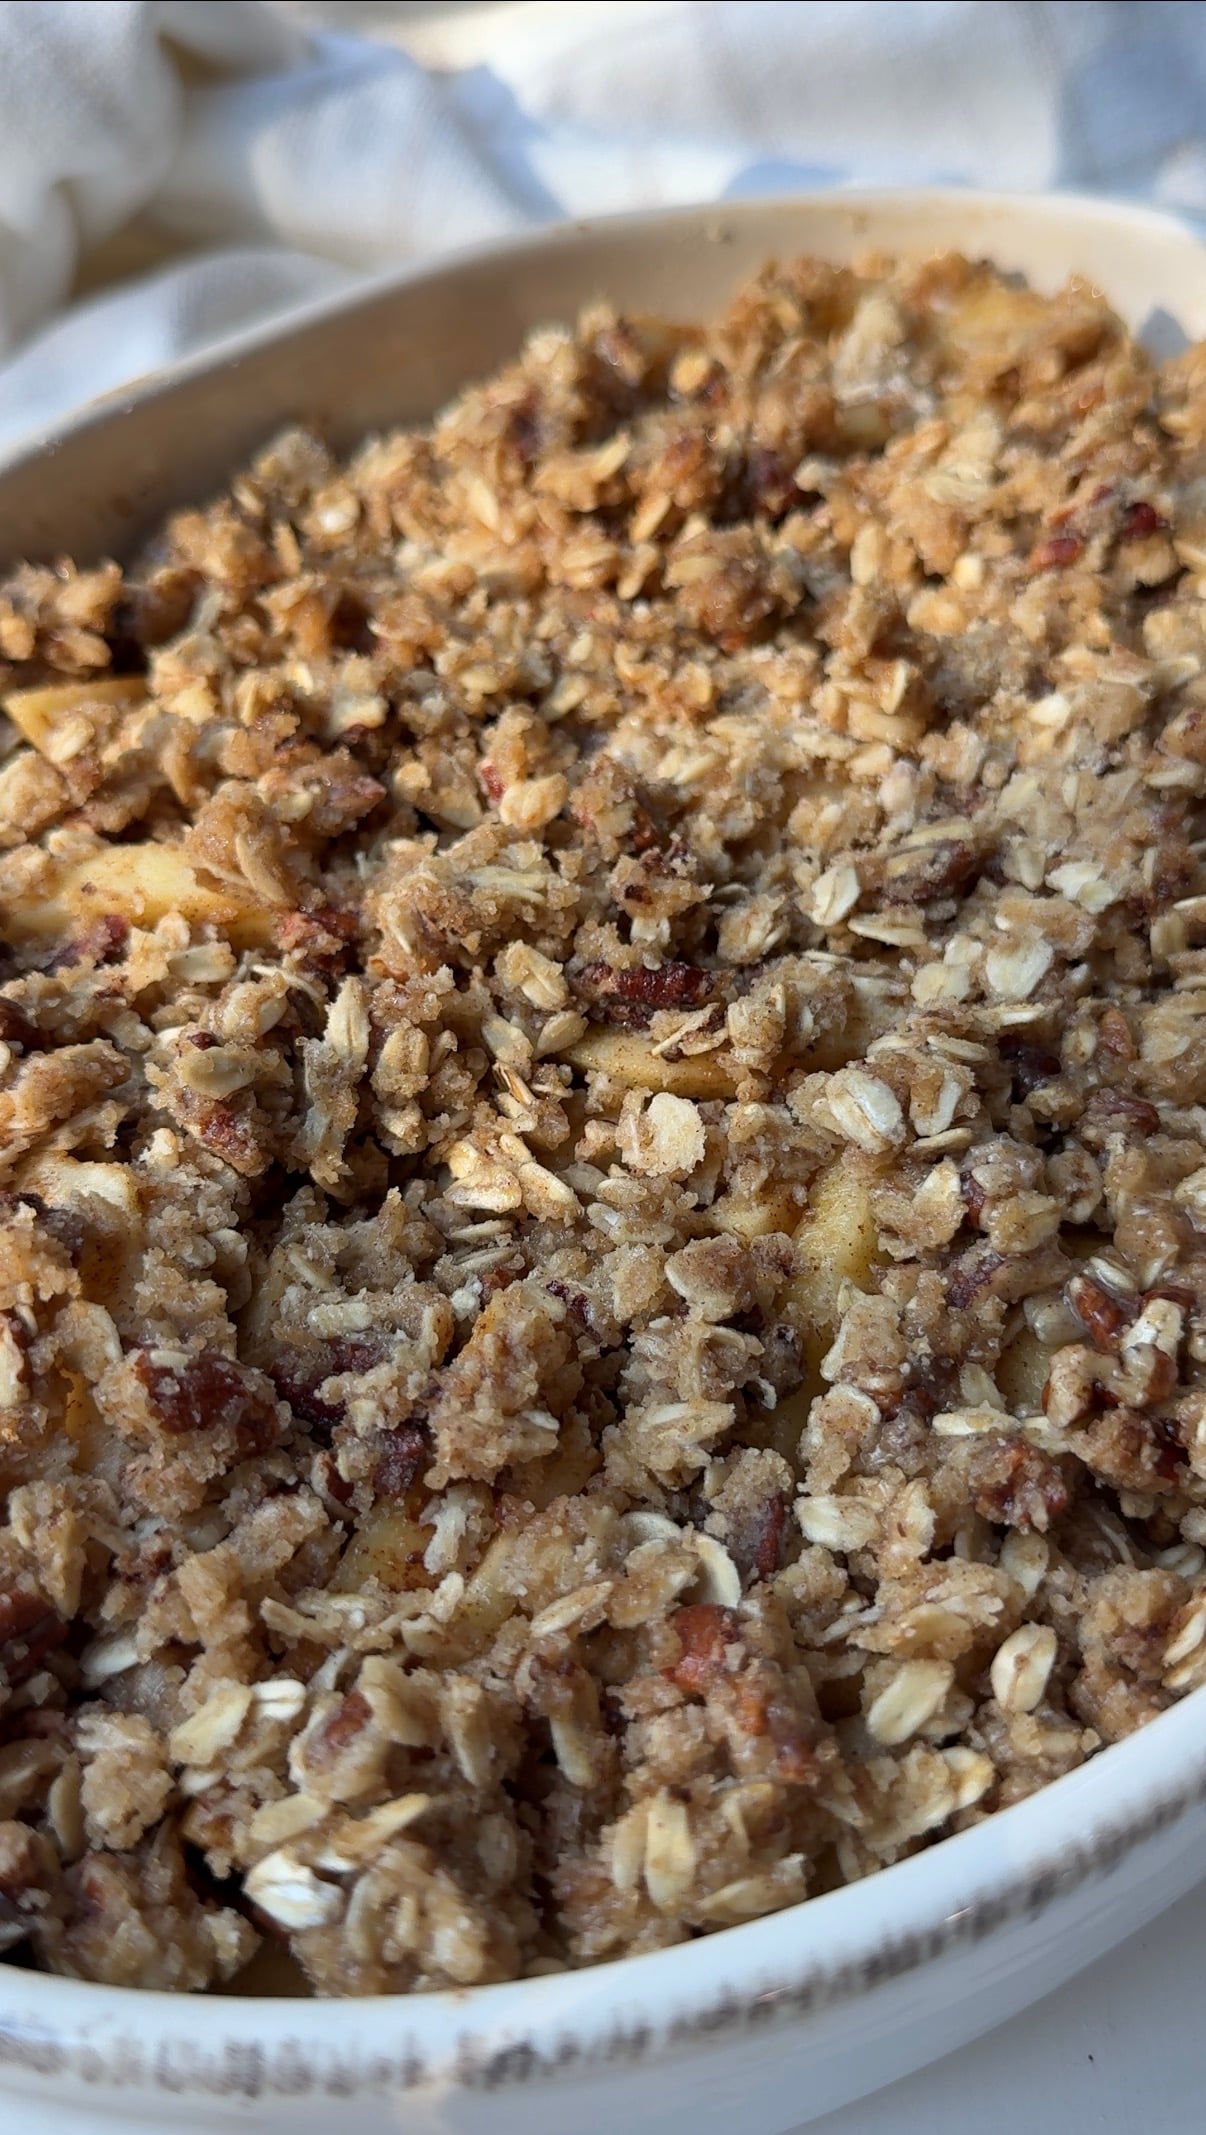
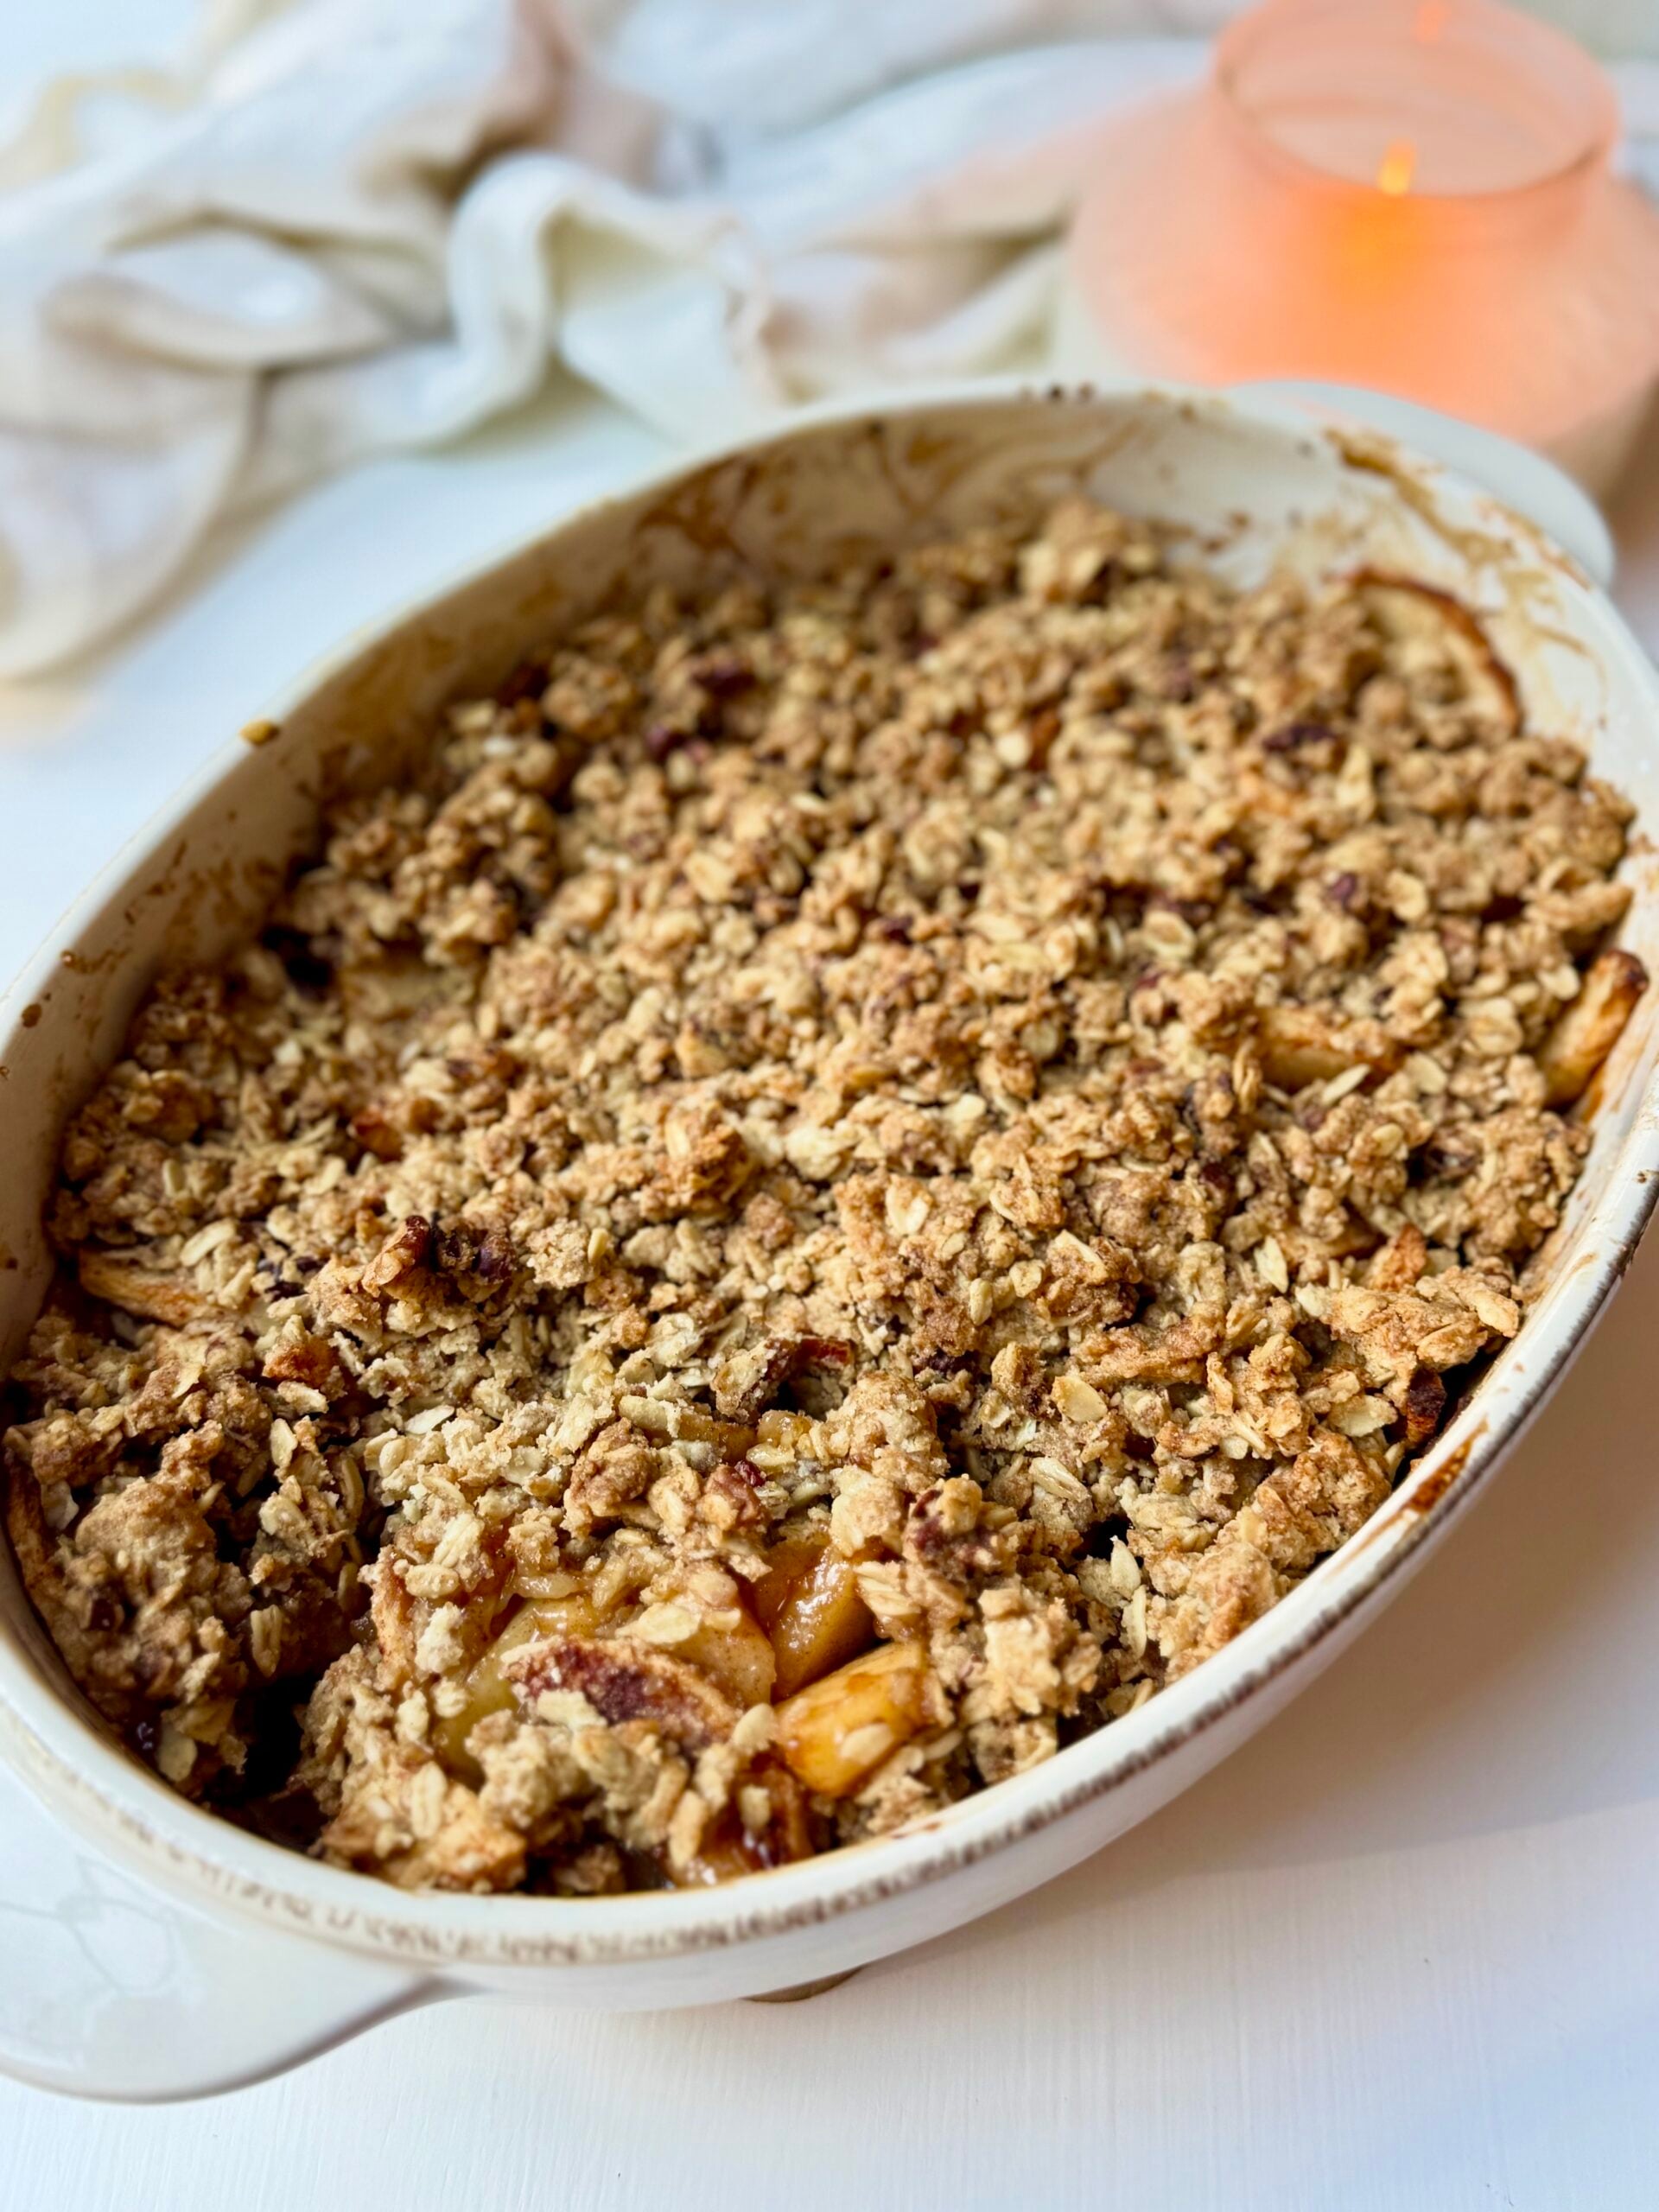
Bake uncovered at 350°F for 45–60 minutes, or until the topping is golden brown and the apple filling is bubbling around the edges.
The apples should be fork-tender when done. If the topping starts browning too quickly before the apples are tender, loosely cover the dish with foil for the remainder of the baking time.
Step 6: Cool and Serve
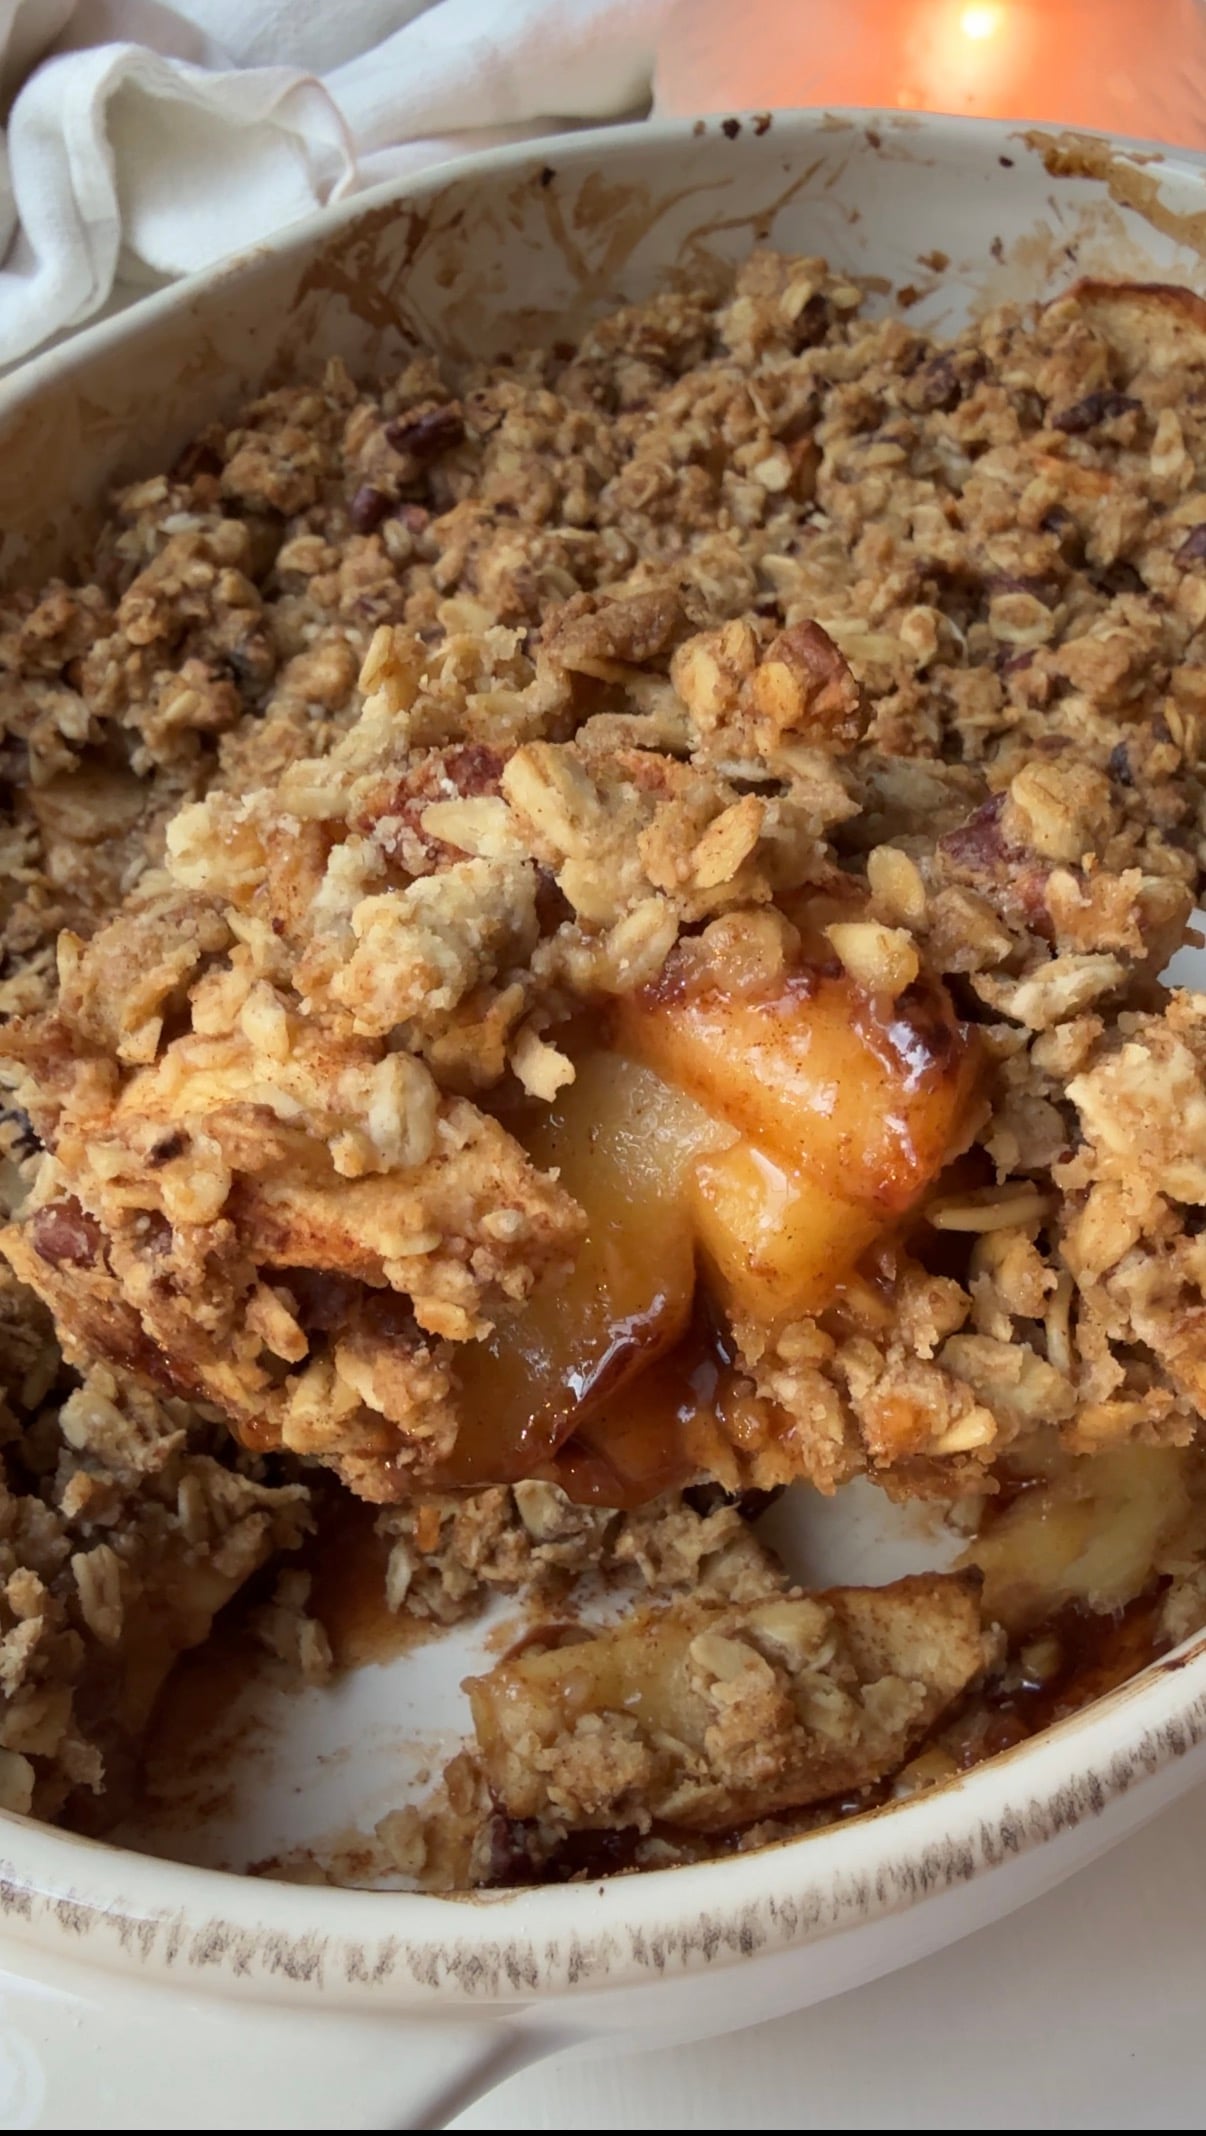
Remove the apple crisp from the oven and let it rest for about 10–15 minutes. This gives the filling time to thicken slightly as it cools.
Serve warm on its own or with a scoop of vanilla ice cream. Enjoy!
Expert Tips for the Best Homemade Apple Crisp
1. Choose the right apples. Honeycrisp, Fuji, Gala, and Pink Lady apples are all great choices because they hold their shape and have a naturally sweet flavor. You can also combine different varieties for more depth of flavor.
2. Slice the apples evenly. Aim for ¼- to ⅓-inch slices. Apples that are cut too thick may take longer to soften, while very thin slices can become mushy.
3. Don’t skip the starch. Arrowroot or cornstarch helps thicken the juices released by the apples. Make sure to toss it evenly with the filling ingredients so you don’t end up with pockets of starch.
4. Keep the topping crumbly. Mix the melted butter with the dry ingredients until everything is moistened. The mixture should resemble a coarse crumble rather than a smooth dough. Don’t pack it tightly over the apples.
5. Let it rest before serving. The filling will be quite hot and loose straight from the oven. Letting the apple crisp rest for 10–15 minutes helps the juices thicken and makes serving easier.
6. Use your favorite baking dish. I usually make this recipe in a 12-inch cast-iron skillet, but a 9×13-inch baking dish works well, too. Baking time can vary depending on the depth of the apple layer, so check for tenderness and bubbling rather than relying on the clock alone.
Easy Apple Crisp Variations
This recipe is delicious as written, but there are a few ways to change it up depending on what you have on hand.
- Use different apples: Try a combination of Honeycrisp, Fuji, Gala, or Pink Lady apples for a balance of sweetness and tartness.
- Use walnuts instead of pecans: If you prefer walnuts, they make an easy substitute for the pecans.
- Make it with oat flour: Use oat flour in place of all-purpose flour for a slightly different crumble texture. Make sure your oats and oat flour are certified gluten-free if needed.
- Try a mix of nuts: You can use a combination of chopped pecans and walnuts if you like a little extra crunch.
If you enjoy easy healthier desserts, you’ll love my Oatmeal Chocolate Chip Cookies with Banana or Healthy Pumpkin Bars.
How to Store and Reheat Apple Crisp
Refrigerator: Allow the apple crisp to cool, then cover the baking dish tightly or transfer leftovers to an airtight container. Store in the refrigerator for up to 4 days.
Reheating in the oven: For the best texture, reheat the apple crisp in a 350°F oven for about 10–15 minutes, or until warmed through. If reheating a larger portion, it may need a little longer. Leave uncovered if you’d like to crisp up the topping.
Reheating in the microwave: Place an individual serving in a microwave-safe dish and heat in 30-second intervals until warm. The topping will be softer than when reheated in the oven.
Freezing: You can freeze baked apple crisp in a freezer-safe container for up to 3 months. Thaw overnight in the refrigerator and reheat in the oven at 350°F until warmed through. Keep in mind that the topping may lose some of its crispness after freezing.
Serving Suggestions
This apple crisp is delicious served warm with a scoop of vanilla ice cream. The cold, creamy ice cream melts into the warm cinnamon apple filling and buttery oat topping.
You can also serve it with a dollop of whipped cream, a drizzle of caramel sauce, or a spoonful of vanilla Greek yogurt for a simple breakfast-inspired treat.
If you’re putting together a dessert spread, pair this apple crisp with my 3-Ingredient Lemon Posset for a refreshing make-ahead dessert or my White Chocolate Raspberry Blondies for another easy homemade treat.
For more sweet inspiration, check out my No-Bake Strawberry Tiramisu or browse the Grace Filled Kitchen Recipe Index for more family-friendly recipes.
Frequently Asked Questions About Easy and Healthier Apple Crisp


If you make this, I’d love to hear how it turned out – a star rating or a note in the comments helps others find the recipe and helps me know what’s working in your kitchen. Tag me @gracefilledkitchen in your photos on social media so I can see your creations.
Easy and Healthier Apple Crisp with Oat and Pecan Topping
Method
- Preheat the oven to 350°F. Lightly grease a 12-inch oven-safe skillet or a 9×13-inch baking dish.
- Peel, core, and slice the apples into even ¼- to ⅓-inch slices. Place them in a large mixing bowl.
- Add the lemon juice, vanilla extract, cinnamon, nutmeg, arrowroot starch or cornstarch, and brown sugar. Toss until the apples are evenly coated.
- Transfer the apple mixture to the prepared skillet or baking dish and spread into an even layer.
- In a separate bowl, combine the melted butter, rolled oats, flour, chopped pecans, brown sugar, cinnamon, and sea salt. Stir until the mixture is evenly moistened and crumbly.
- Sprinkle the topping evenly over the apples without pressing it down too firmly.
- Bake uncovered for 45–60 minutes, or until the topping is golden brown, the filling is bubbling around the edges, and the apples are fork-tender.
- Let rest for 10–15 minutes before serving. Enjoy warm!
Notes
- Honeycrisp apples are my favorite, but Fuji, Gala, and Pink Lady apples work well, too.
- If using a 9×13-inch baking dish, start checking for doneness around 35–40 minutes.
- Baking time will vary depending on the depth of the apple layer. If preparing apples ahead, toss them with a little lemon juice to help prevent browning.
- If the topping browns too quickly, loosely cover the dish with foil for the remainder of the baking time.
- Let the crisp rest before serving so the apple filling can thicken.
- Serve warm with vanilla ice cream or whipped cream.
Nutrition
Nutrition information is automatically calculated, so should only be used as an approximation.
If you make this, I’d love to hear how it turned out.
Leave a comment and star rating below!
If you make this, I’d love to hear how it turned out.
Leave a comment and star rating below!