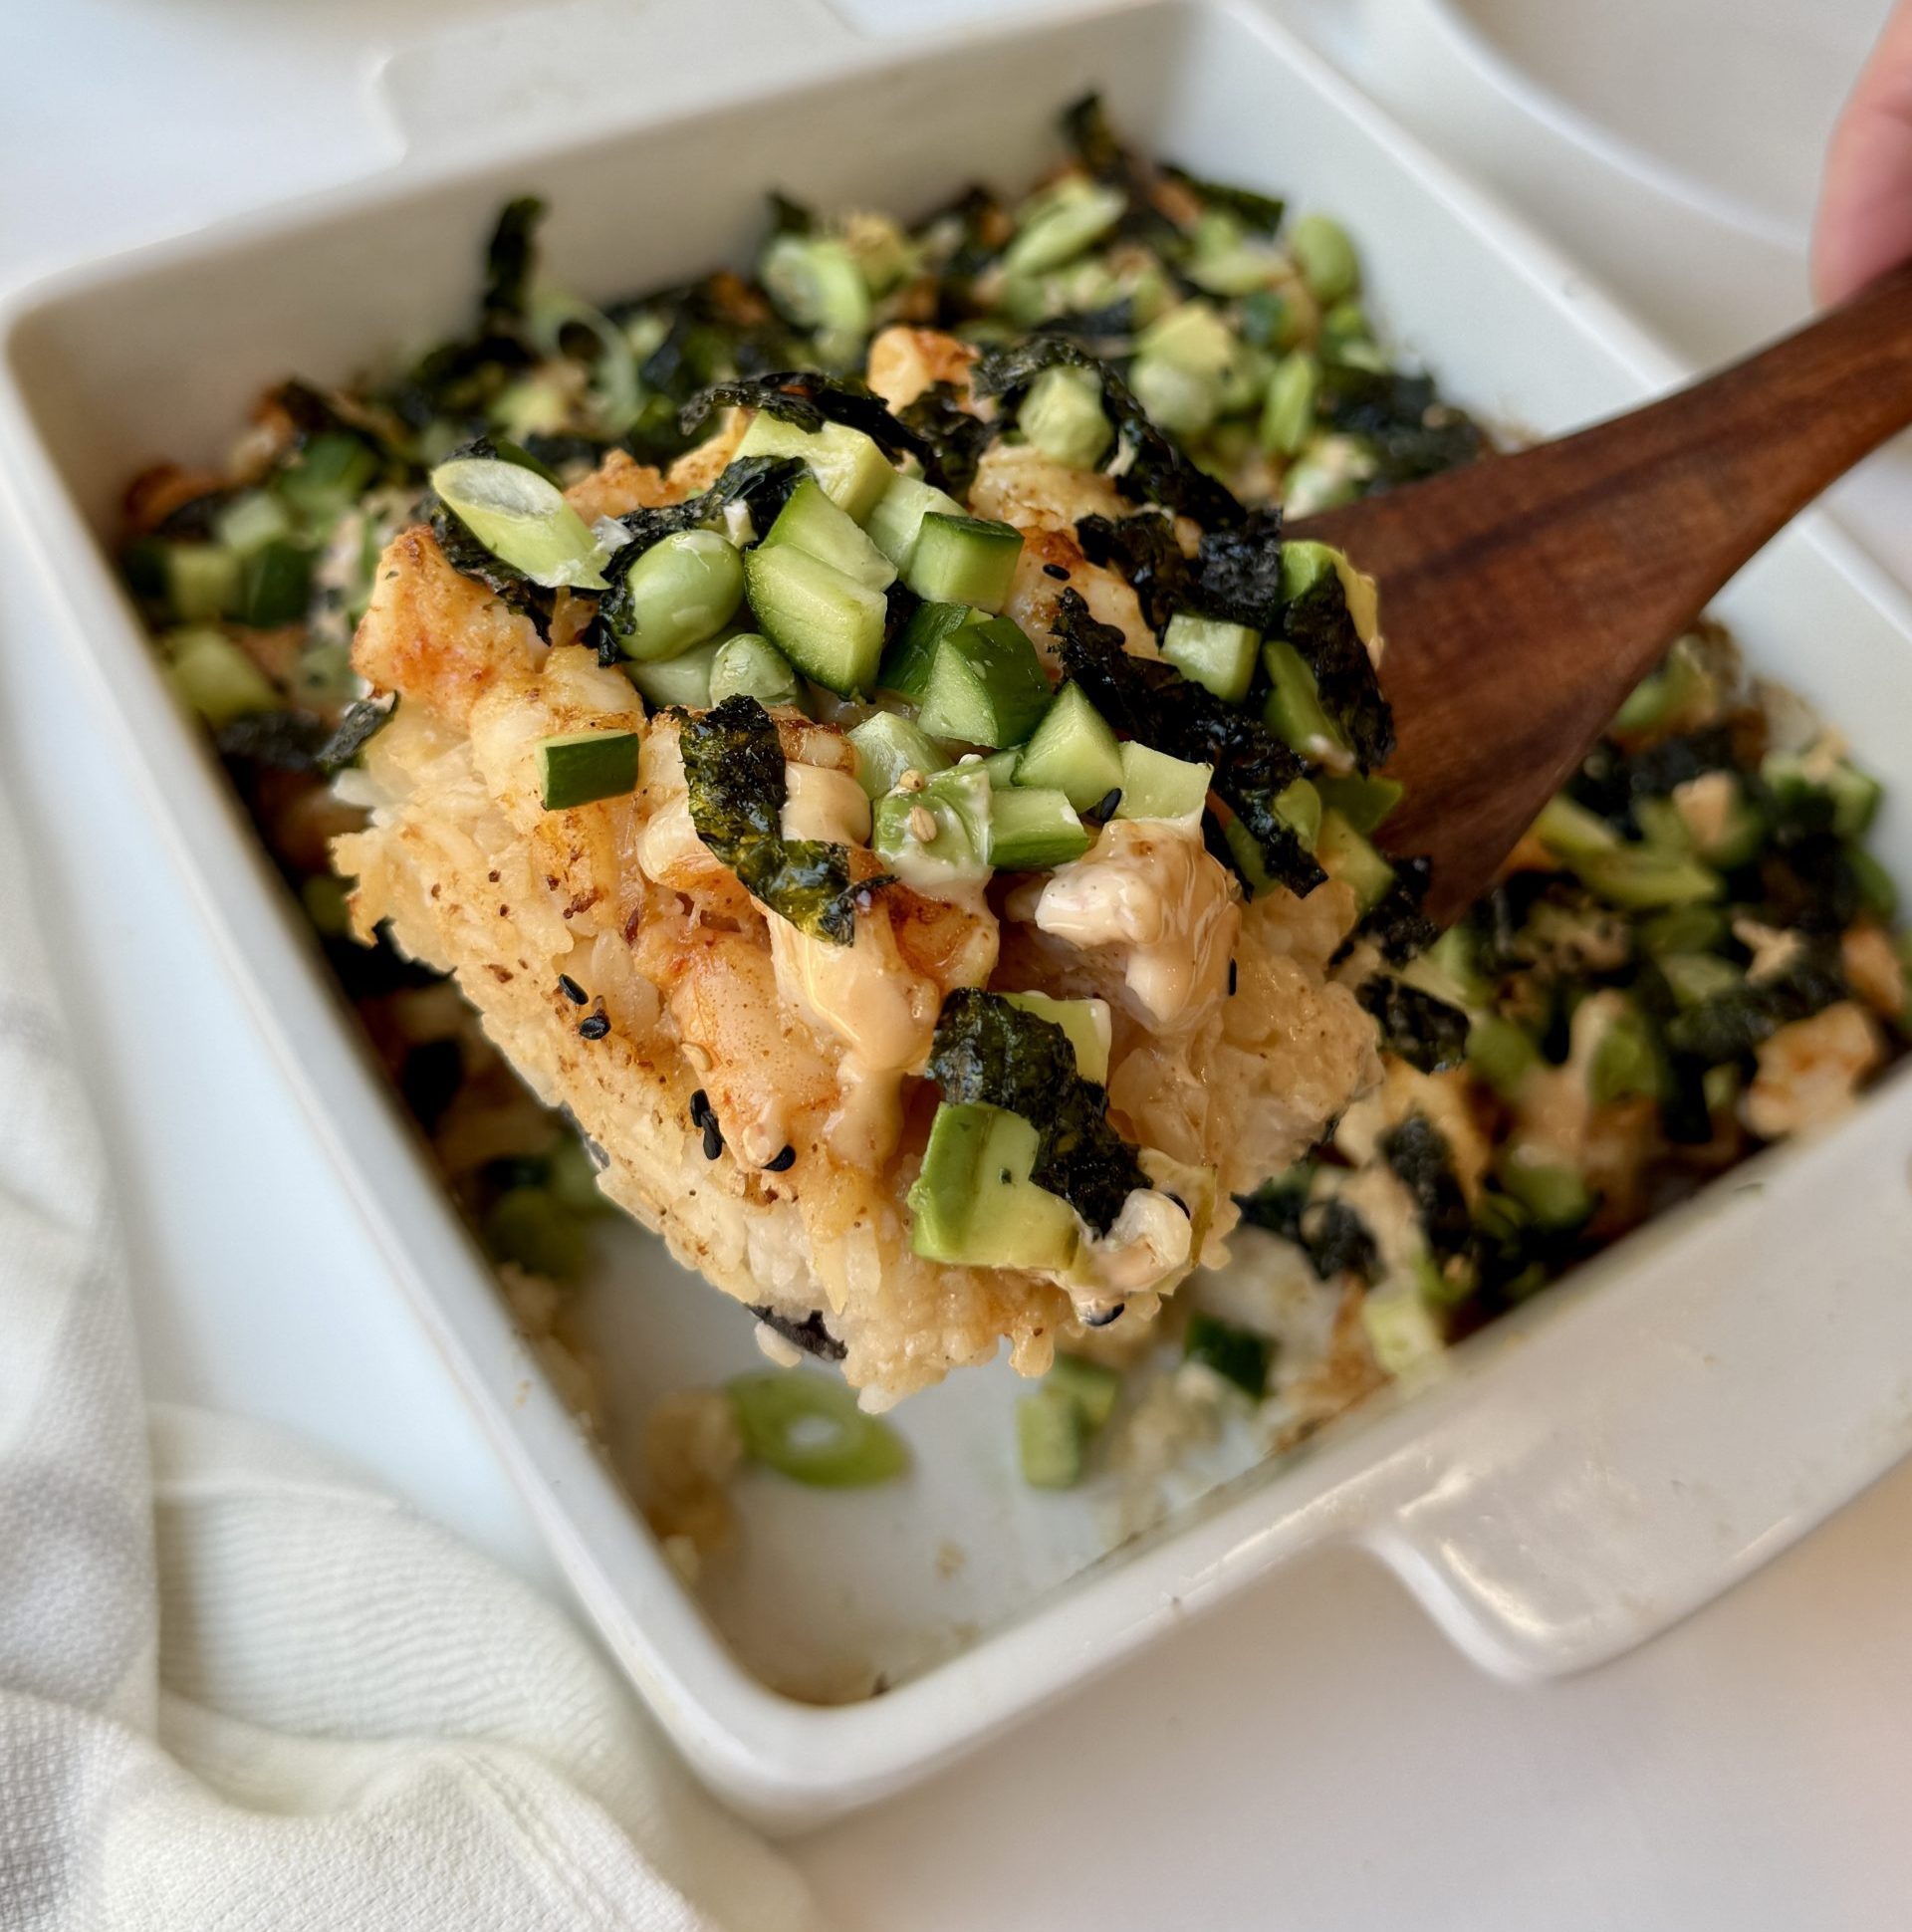
Shrimp Sushi Bake
Sushi bake is the dish that takes everything people love about a spicy shrimp roll and turns it into a warm, shareable casserole that comes together in 30 minutes with no rolling, no special equipment, and no sushi-making experience required. Seasoned rice pressed into a baking dish, a layer of diced shrimp tossed in a savory, slightly spicy mayo mixture baked on top until pink and slightly golden, finished with a drizzle of honey sriracha mayo and whatever fresh toppings you want to pile on. Scoop it onto crispy nori sheets for a bite that tastes exactly like a hand roll from a sushi restaurant, made entirely at home.
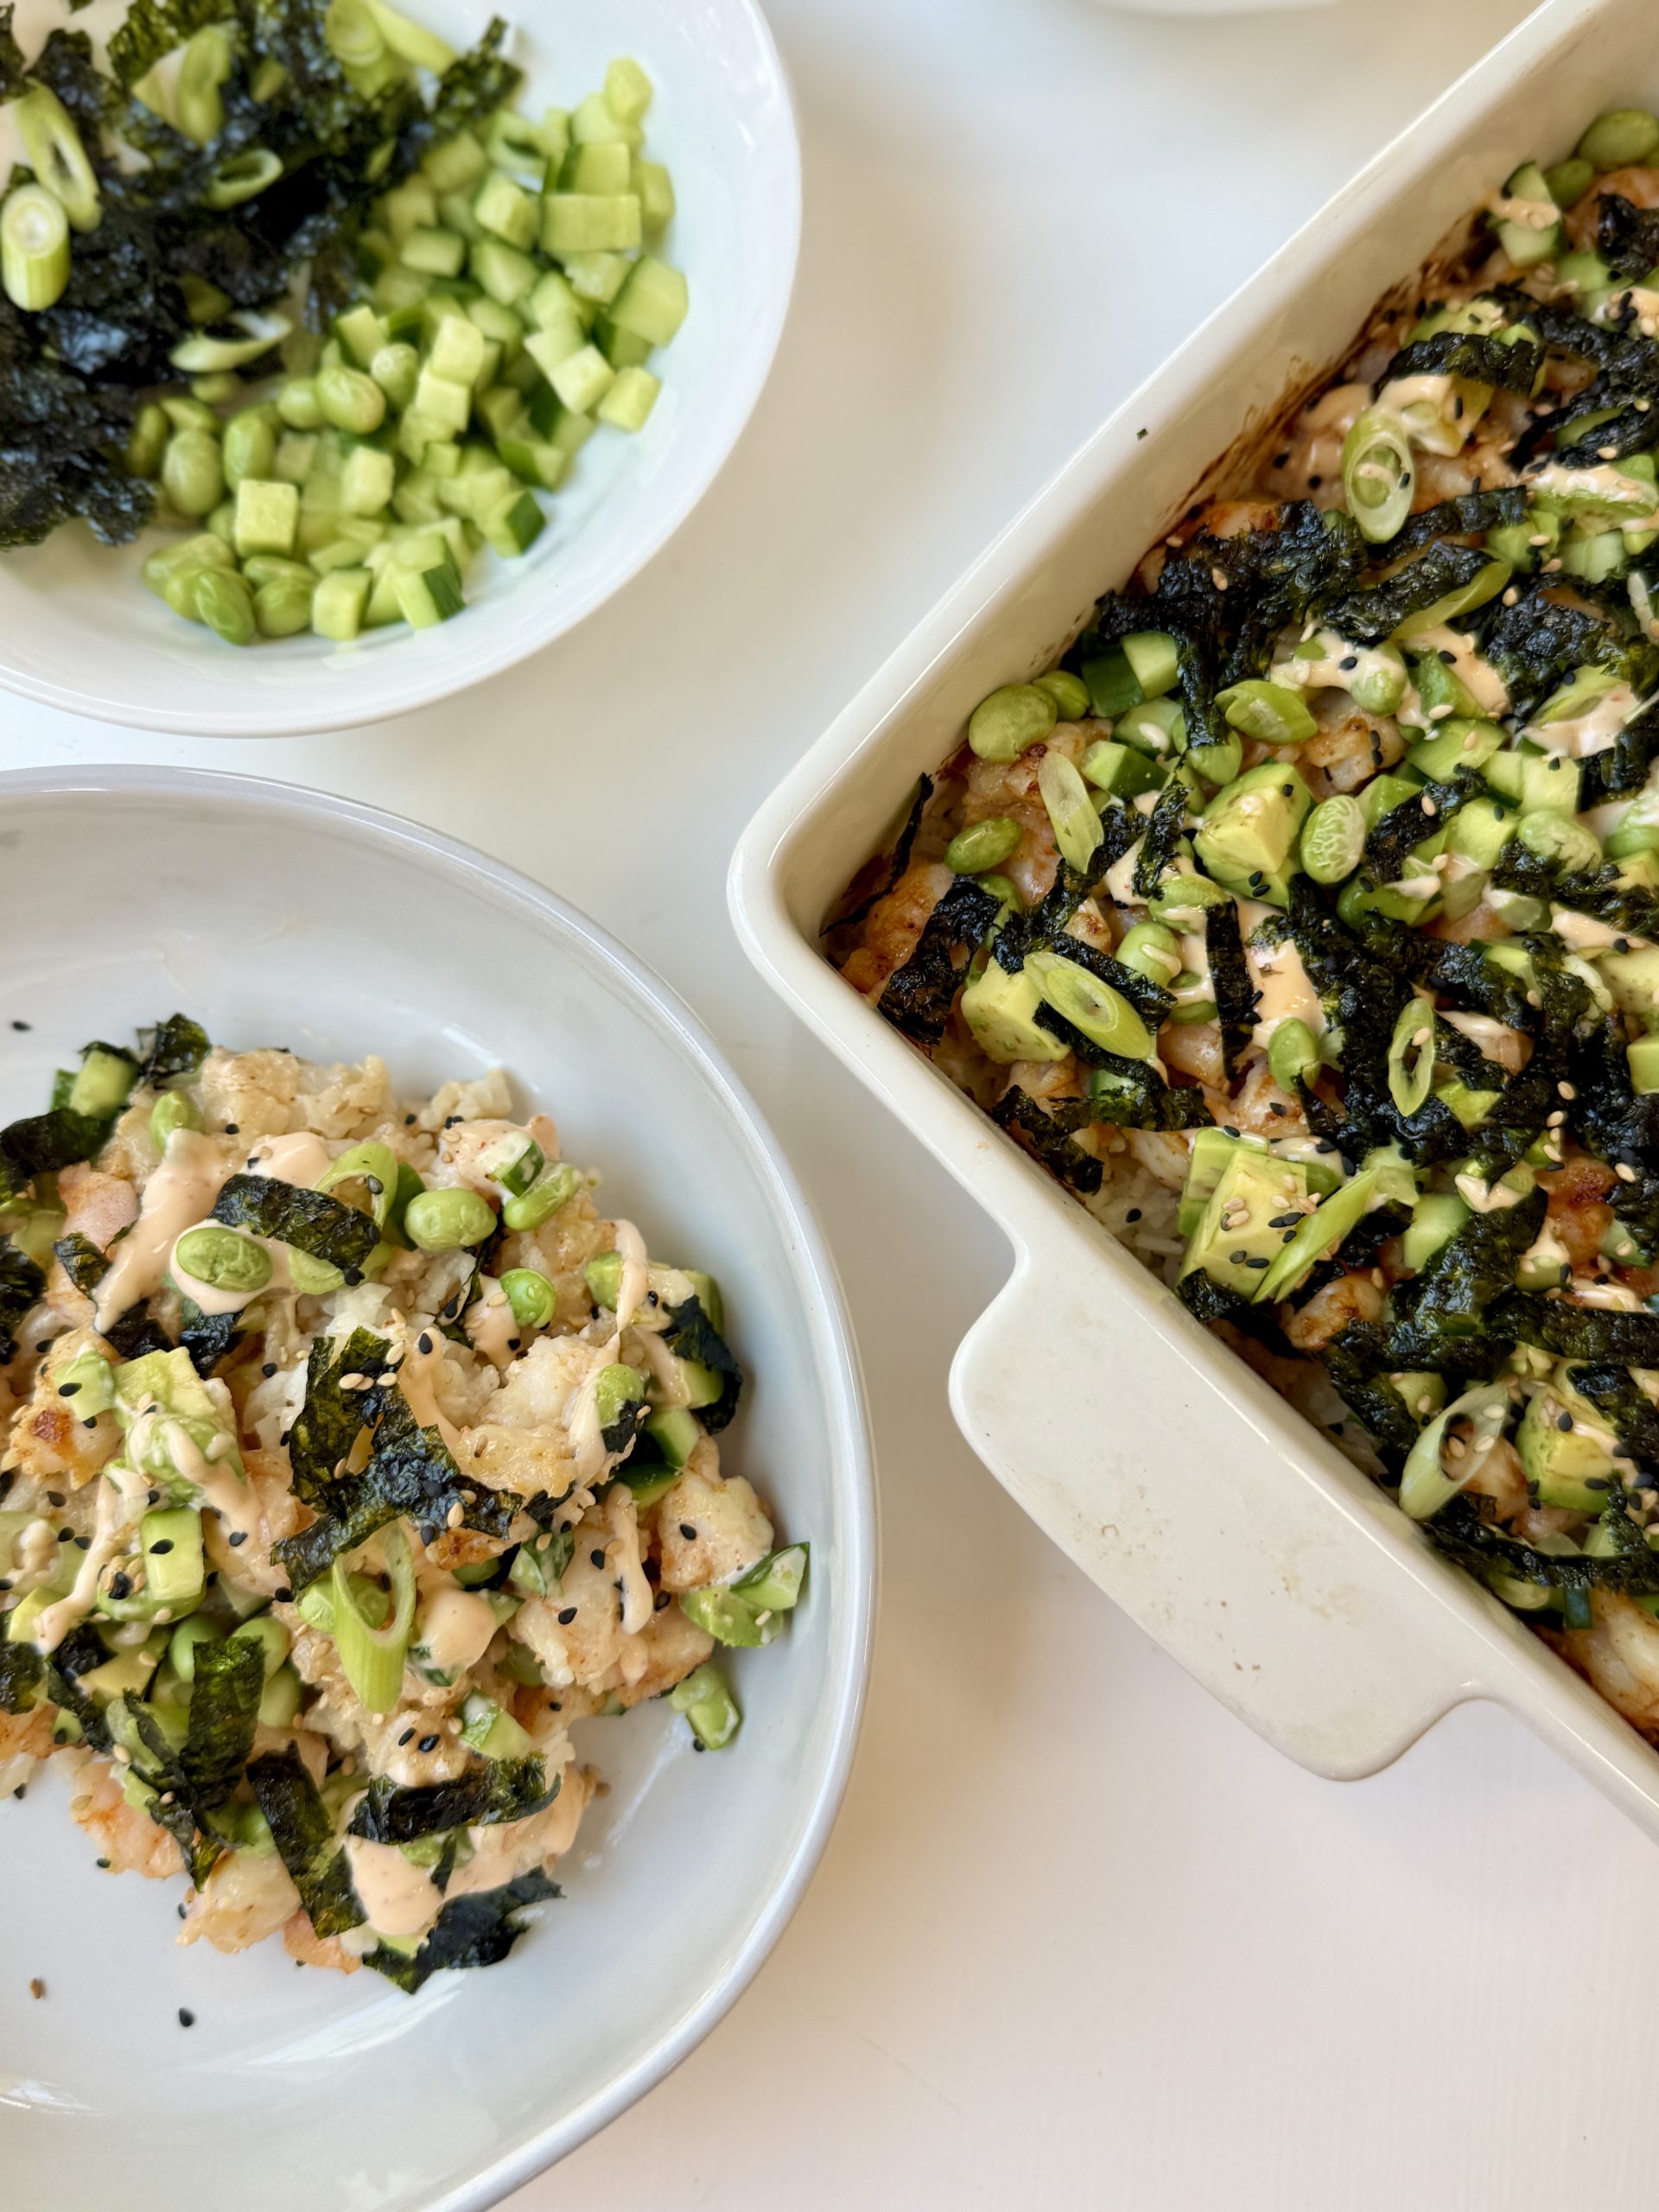
This version is lighter and cleaner than most sushi bakes that lean heavily on imitation crab and excessive mayo. Real shrimp, a well-seasoned coating, and a thoughtful topping lineup including avocado, cucumber, edamame, sesame seeds, and crispy shallots make this feel fresh rather than heavy. It’s the kind of recipe that becomes a regular weeknight request after the first time you make it and takes almost no effort to pull together.
Why You’ll Love This Recipe
It tastes exactly like a spicy shrimp roll in casserole form. The sesame oil, soy sauce, sriracha, and spicy mayo hit every note of a sushi restaurant hand roll without any of the technique.
It’s on the table in 30 minutes. Ten minutes of prep, 18 minutes of baking, and dinner is done. This is genuinely faster than ordering sushi.

It’s endlessly customizable. Swap the shrimp for imitation crab, salmon, or tuna. Adjust the sriracha for more or less heat. Change the toppings based on what’s in the refrigerator. The base formula accommodates all of it.
– Lyuda
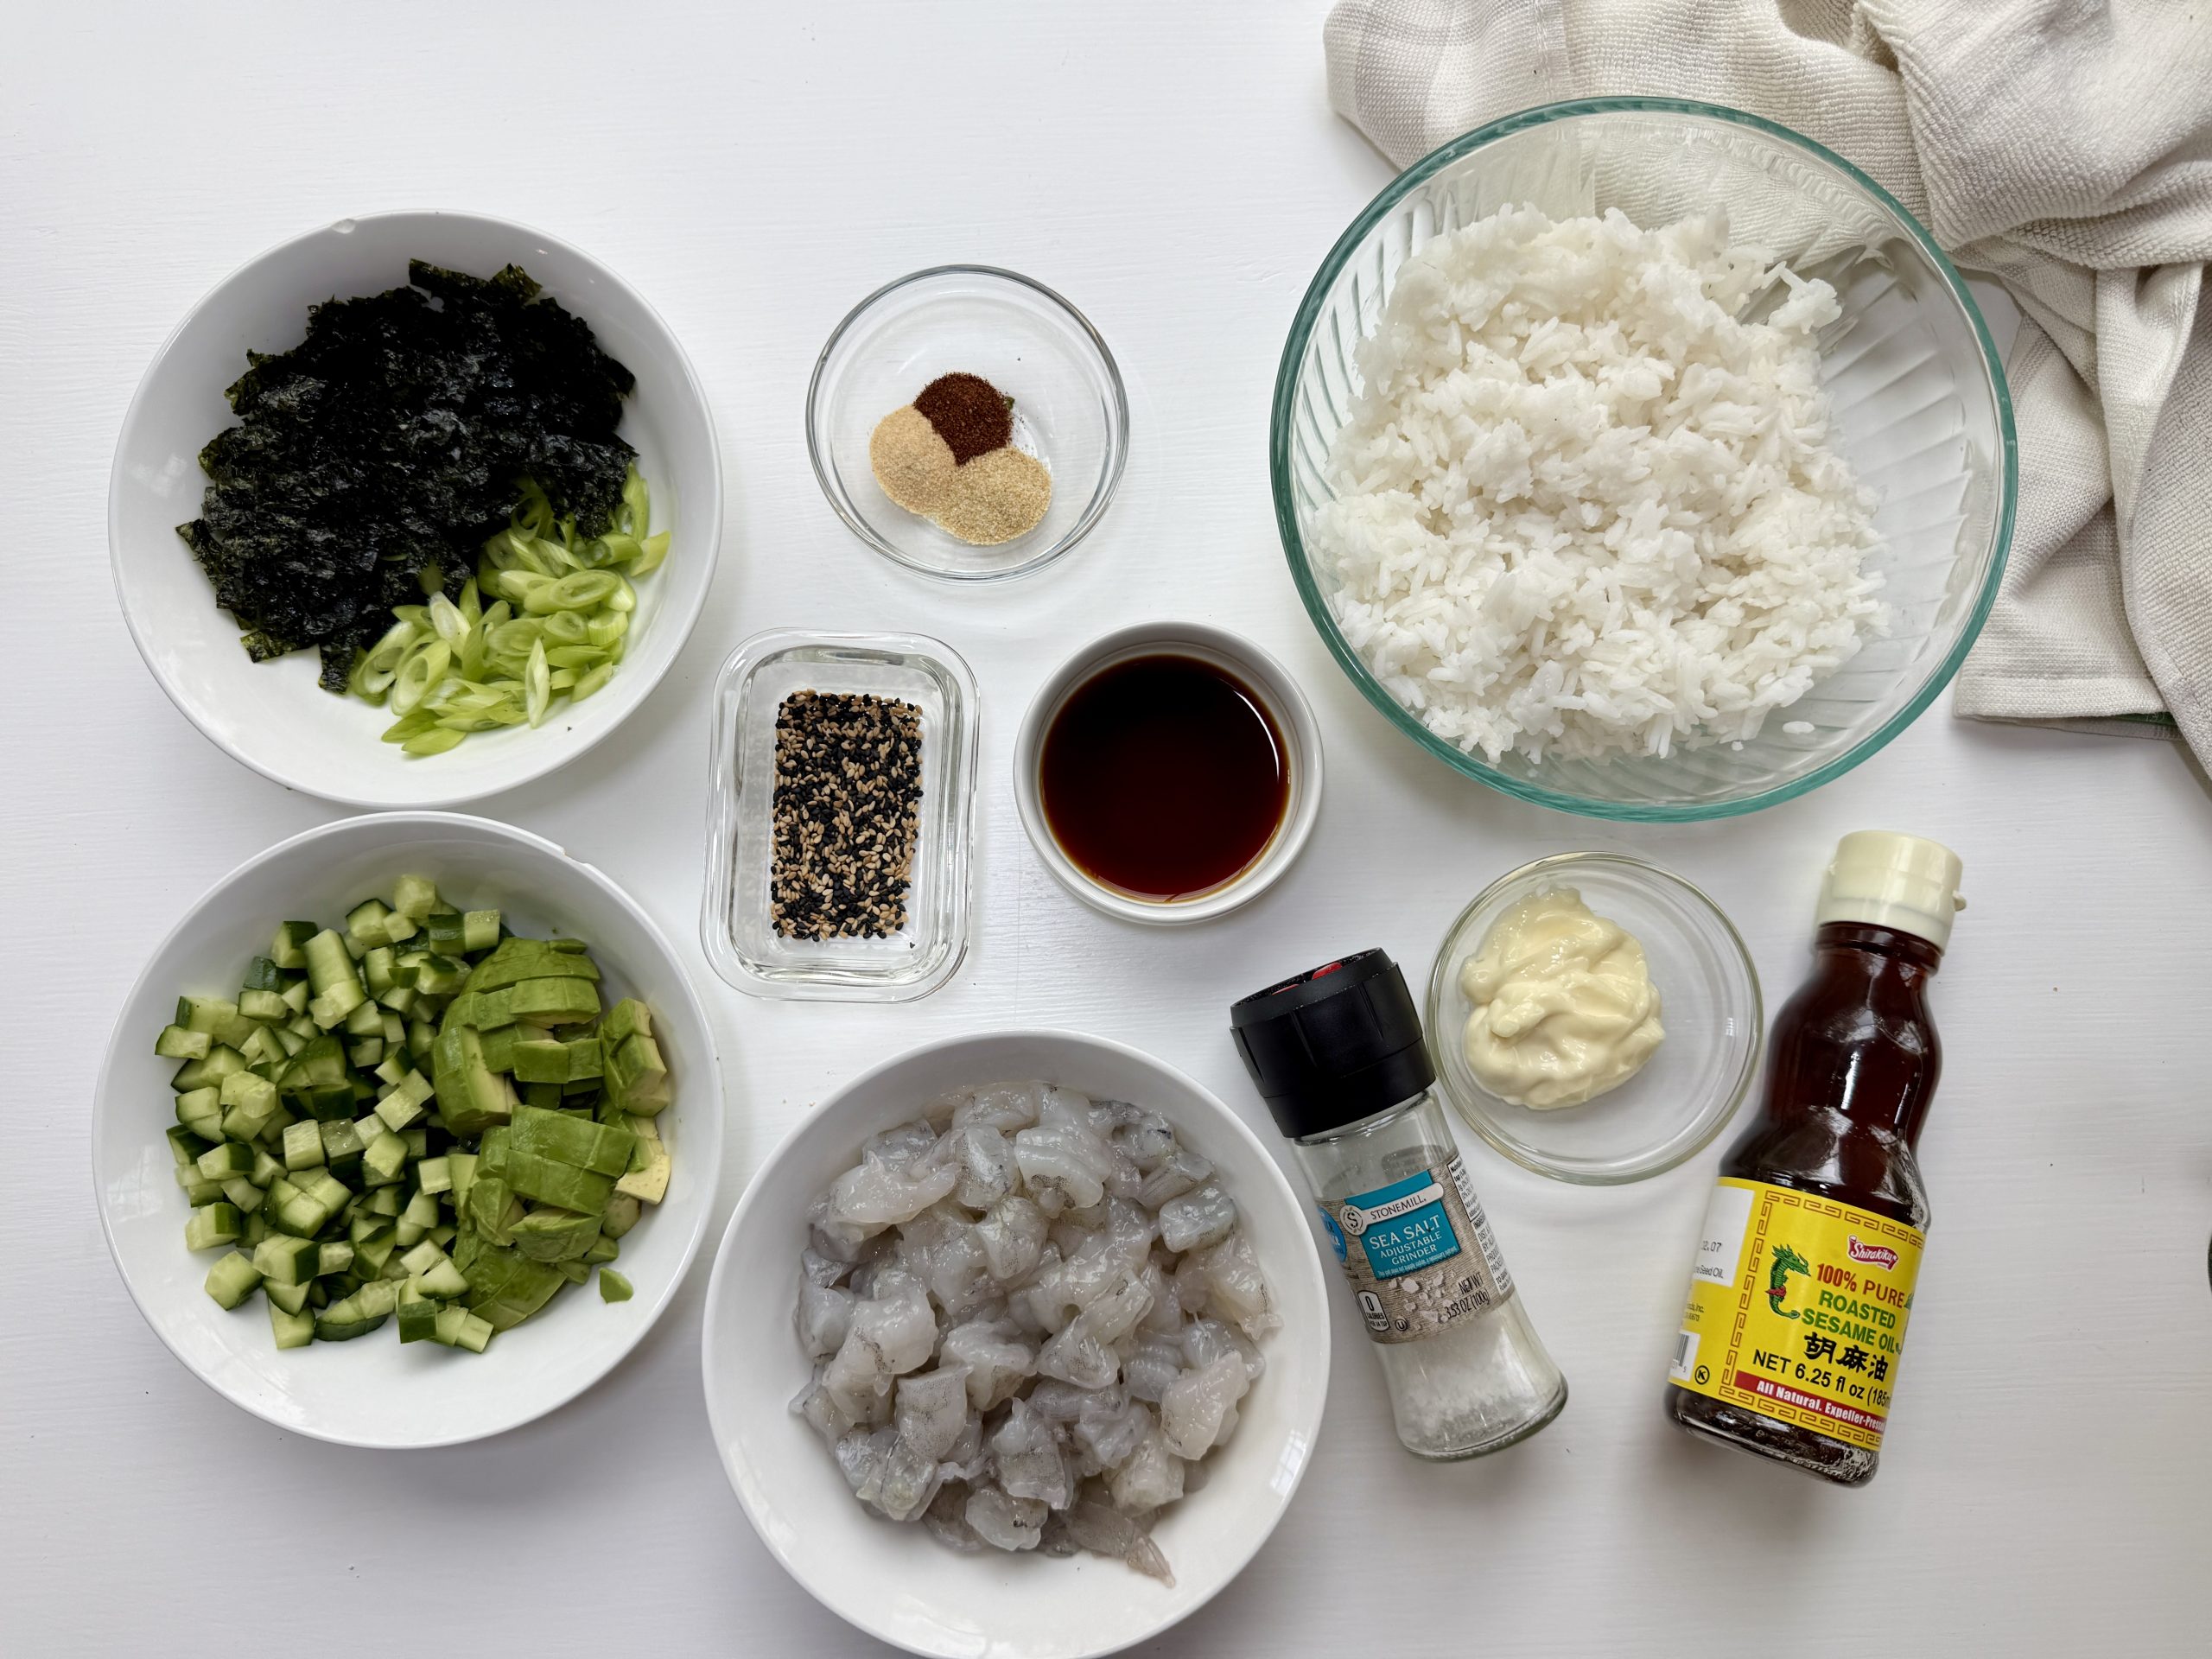
Ingredients Needed to Make Shrimp Sushi Bake
The Rice
- Cooked white rice, short-grain or jasmine (short-grain sushi rice produces the most authentic texture and holds together when scooped onto nori; jasmine is a widely available alternative with slightly less stickiness)
- Sesame oil (adds a toasty, nutty depth to the rice base)
- Low-sodium soy sauce or coconut aminos (seasons the rice and adds umami throughout)
- Salt
The Shrimp Mixture
- Raw shrimp, peeled, deveined, and diced (dicing the shrimp ensures even coverage across the entire baking dish and makes scooping onto nori sheets easy)
- Mayonnaise (the creamy binder that keeps the shrimp coating together)
- Low-sodium soy sauce or coconut aminos
- Sesame oil
- Garlic powder, onion powder, and chili powder
- Sriracha (adjust the amount based on your heat preference)
- Salt
The Spicy Mayo
- Mayonnaise
- Sriracha
- Honey (the honey is the detail that makes this spicy mayo better than a standard sriracha mayo)
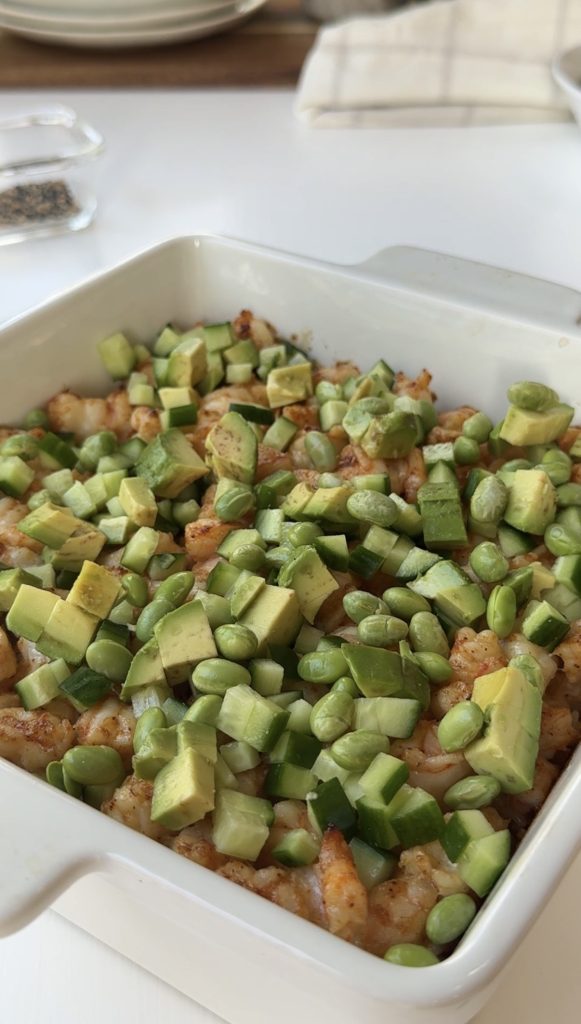
Toppings
- Sliced avocado, diced cucumber, shelled edamame, green onions, sesame seeds, crispy shallots, nori sheets
See the recipe card below for exact ingredient amounts, nutritional information, and detailed instructions.
How to Make Shrimp Sushi Bake
Step 1: Prep the Pan
Preheat the oven to 400°F. Lightly grease a 9×9 inch baking dish with avocado oil or cooking spray. A properly greased pan prevents the rice from sticking and makes serving significantly easier.
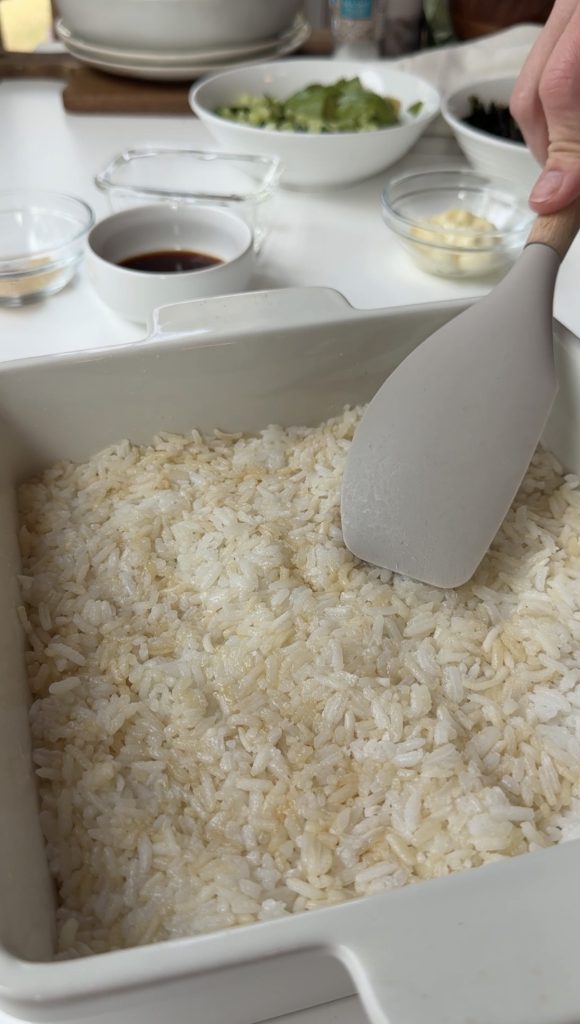
Step 2: Season and Press the Rice
If the rice was just cooked, let it cool for 5 to 10 minutes so it’s warm but not steaming hot, which would make it too sticky to spread evenly. In a large bowl, gently mix the cooked rice with sesame oil, soy sauce, and salt until every grain is lightly coated. Transfer to the prepared baking dish and spread into an even layer, pressing down lightly with the back of a spoon or damp hands to compact it slightly. A firmly pressed rice layer holds together when scooped and provides a stable base for the shrimp topping.

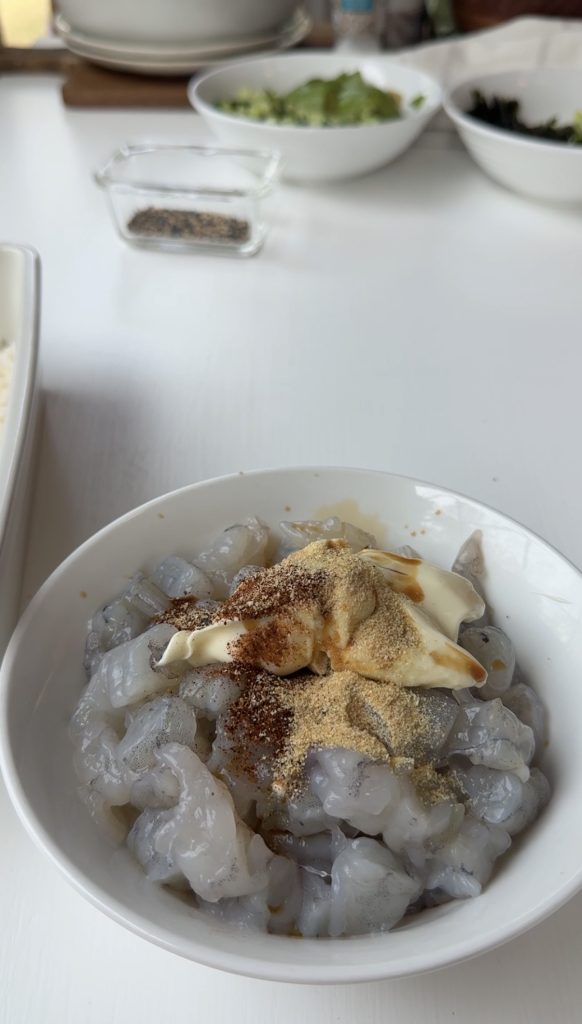
Step 3: Prepare the Shrimp Mixture
Pat the diced shrimp completely dry with paper towels. This is the most important prep step in the recipe. Excess moisture on the shrimp releases as steam during baking and creates a watery layer between the shrimp and rice that makes the finished bake soggy rather than cohesive. In a medium bowl, whisk together the mayonnaise, soy sauce, sesame oil, garlic powder, onion powder, chili powder, sriracha, and salt. Add the dried diced shrimp and toss until every piece is evenly coated.

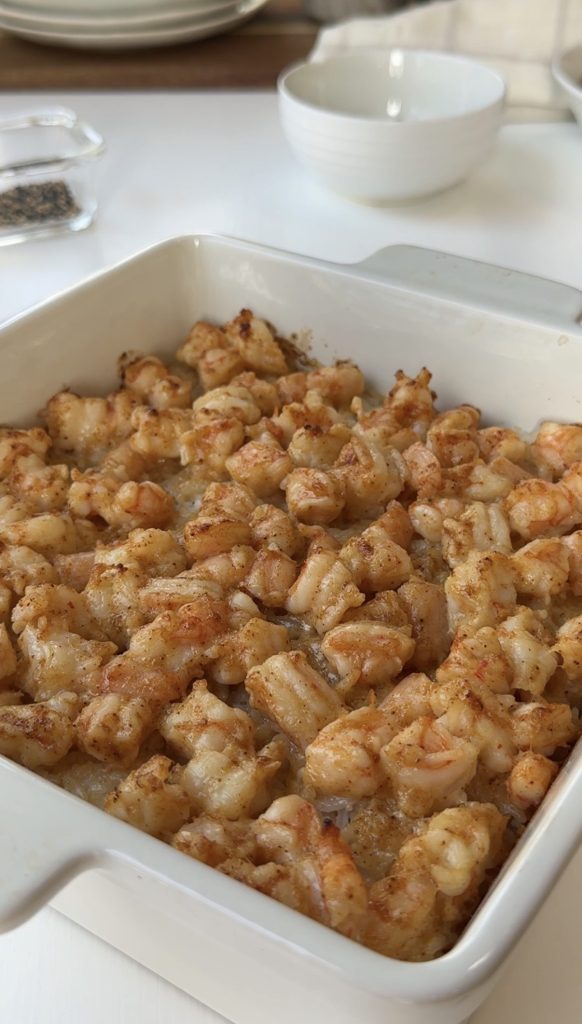
Step 4: Assemble and Bake
Spread the shrimp mixture evenly over the pressed rice layer, covering it completely to the edges. Bake at 400°F for 15 to 18 minutes until the shrimp is fully cooked, pink, and opaque throughout. For a slightly golden, lightly caramelized top, switch the oven to broil for the final 1 to 2 minutes. Watch it closely during the broil since the mayo coating can go from golden to burnt quickly.
Step 5: Make the Spicy Mayo
While the bake is in the oven, whisk together the mayonnaise, sriracha, and honey in a small bowl until smooth. Taste and adjust the sriracha to your heat preference. The honey is what separates this from a basic sriracha mayo, adding a rounded sweetness that balances the heat.
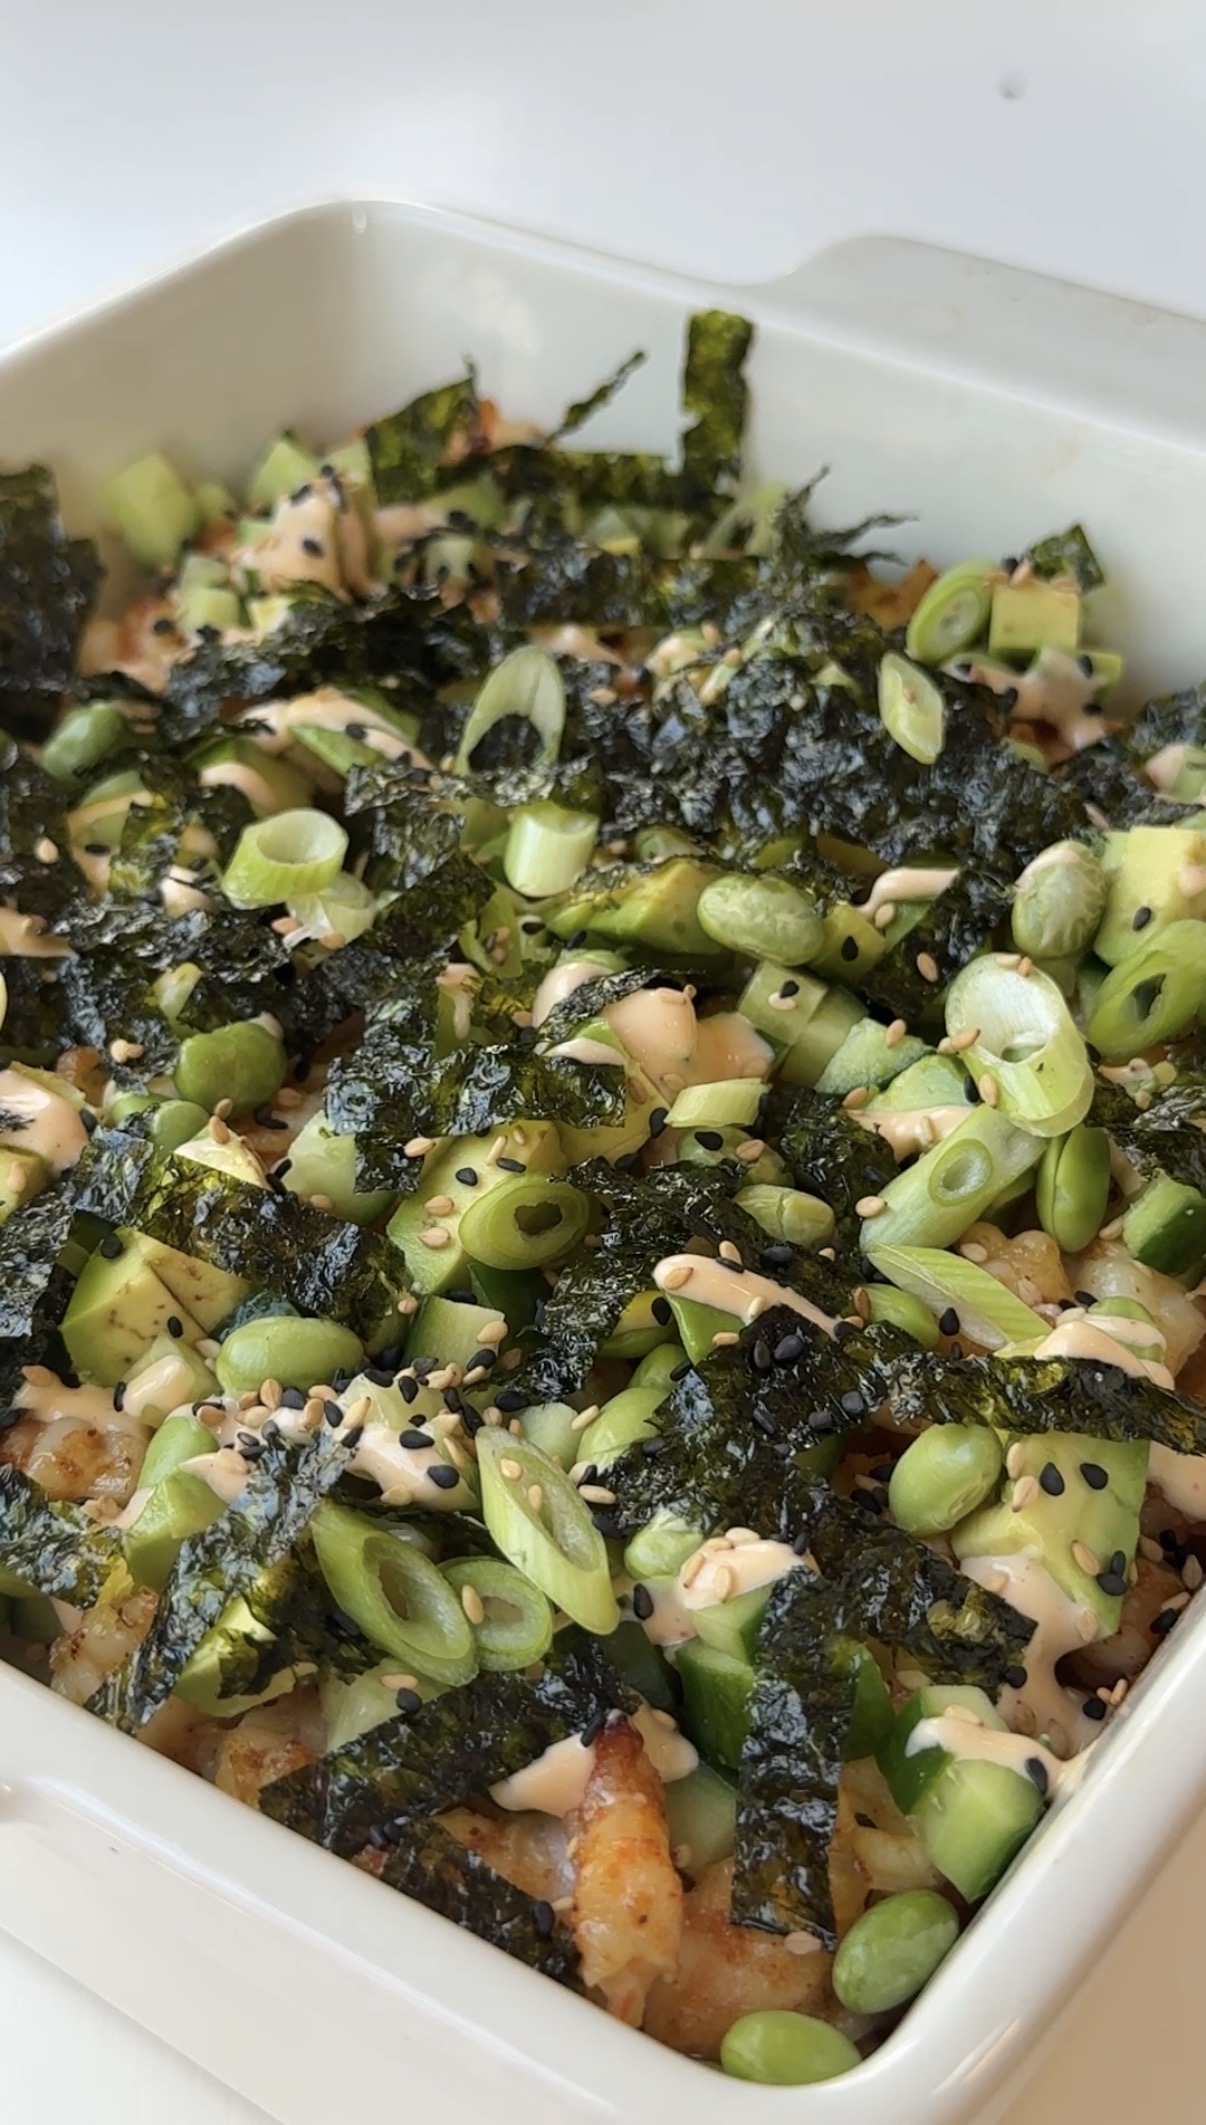
Step 6: Top and Serve
Remove the bake from the oven and drizzle the spicy mayo generously over the top. Add the fresh toppings you’ve chosen and serve immediately. To eat sushi-style, scoop a spoonful of the rice and shrimp mixture onto a nori sheet, add your preferred toppings, and fold or wrap before eating.
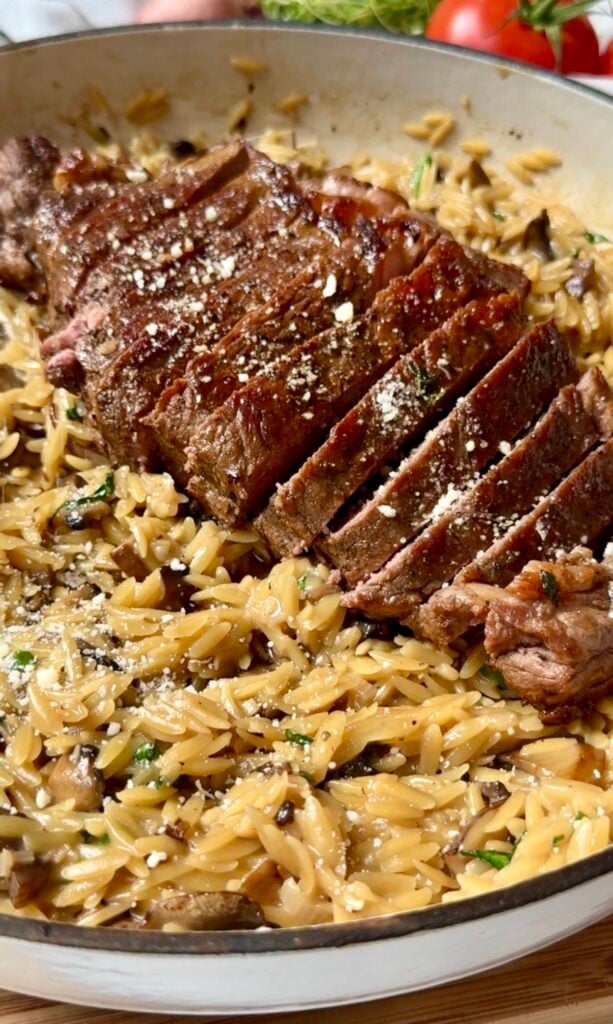
If you are looking for more delicious dinner recipes, you’ll love my Lemon Chicken and Orzo and Juicy Oven-Baked Beef Kebabs (Easy Ground Beef Kebabs Recipe)!
How To Store A Sushi Bake
Store the sushi bake covered in the refrigerator for up to 3 days. Keep all fresh toppings including avocado, cucumber, edamame, green onions, and nori sheets separate from the bake and add them fresh at serving time. Refrigerating assembled toppings with the bake produces soggy cucumbers, browning avocado, and limp nori that loses all its crunch.
To reheat, microwave individual portions on medium power in 60-second intervals until heated through. Alternatively, reheat covered in a 350°F oven for 10 to 12 minutes. Add fresh toppings and a drizzle of spicy mayo after reheating to refresh the presentation.
Serving Suggestions
Set the baking dish in the center of the table with the toppings arranged around it in small bowls and a stack of nori sheets alongside. Let everyone scoop their own portions and build their own bites. This interactive format is one of the best things about a sushi bake and it works especially well for casual dinners and gatherings where people enjoy building their own food.
For a full spread, serve alongside a simple miso soup, a cucumber salad dressed with rice vinegar and sesame oil, or a bowl of steamed edamame. The sushi bake is substantial enough to be a complete meal on its own but the light Japanese-inspired sides make it feel like a full restaurant dinner at home.
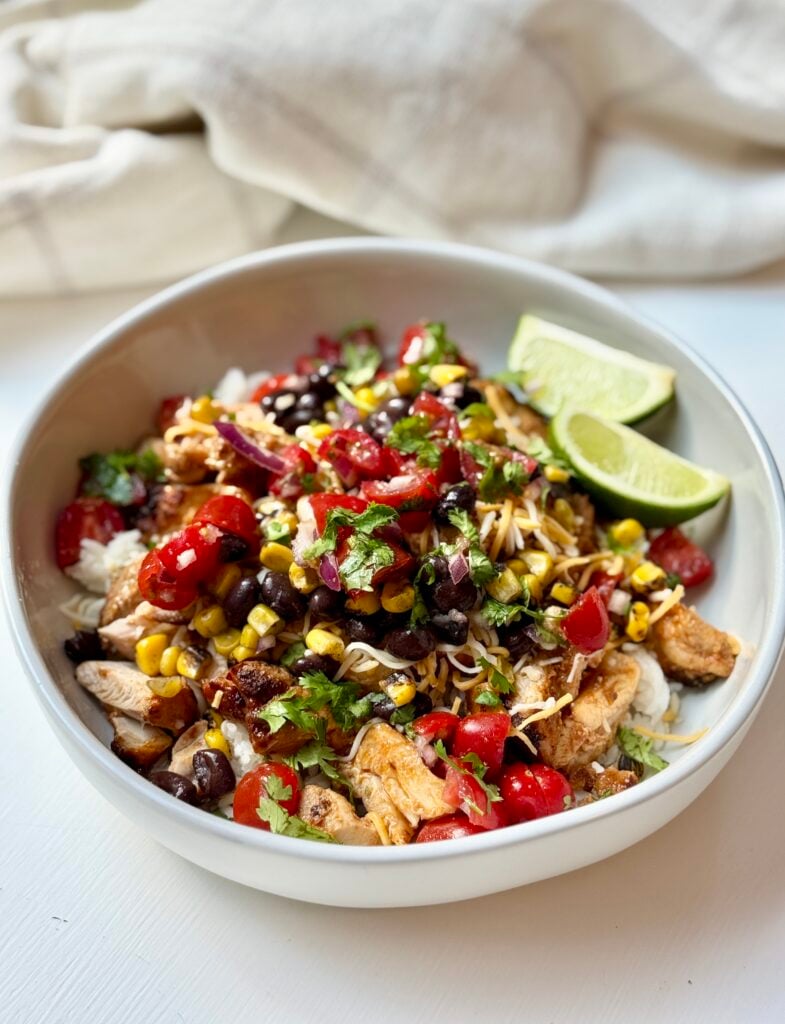
For another bold, Asian-inspired weeknight dinner in a similar quick-cooking format, Korean Ground Beef Bowls hit the same satisfying, saucy rice bowl notes in a completely different flavor direction.
Frequently Asked Questions About Shrimp Sushi Bake

If you make this, I’d love to hear how it turned out – a star rating or a note in the comments helps others find the recipe and helps me know what’s working in your kitchen. Tag me @gracefilledkitchen in your photos on social media so I can see your creations.
Shrimp Sushi Bake
Method
- Preheat oven to 400°F. Lightly grease a 9×9-inch baking dish with avocado oil or cooking spray.
- If your rice is freshly cooked, let it cool slightly so it’s not too sticky.
- In a large bowl, gently mix the cooked rice with sesame oil, soy sauce, and salt.
- Spread the rice evenly into the prepared baking dish, pressing it down lightly.
- Pat the shrimp dry with paper towels (this helps prevent excess moisture).
- In a medium bowl, combine mayonnaise, soy sauce, sesame oil, garlic powder, onion powder, chili powder, sriracha, and salt. Add the diced shrimp and toss until evenly coated.
- Spread the shrimp mixture evenly over the rice layer.
- Bake for 15–18 minutes, or until the shrimp is pink, opaque, and fully cooked.
- (Optional: Broil for 1–2 minutes at the end for a lightly golden top.)
- In a small bowl, mix together mayonnaise, sriracha, and honey until smooth. Drizzle over the bake before serving.
- Top with your favorite toppings and extra soy sauce. Scoop onto nori sheets for a sushi-style bite.
Notes
- Store leftovers covered in the fridge for up to 3 days (it’s best to keep the toppings separate, so you don’t reheat cucumbers, avocados, or nori sheets, etc)
- Reheat the rice and shrimp in the microwave or in a 350°F oven until warmed through, then top with the toppings before eating.
Nutrition information is automatically calculated, so should only be used as an approximation.
If you make this, I’d love to hear how it turned out.
Leave a comment and star rating below!
If you make this, I’d love to hear how it turned out.
Leave a comment and star rating below!